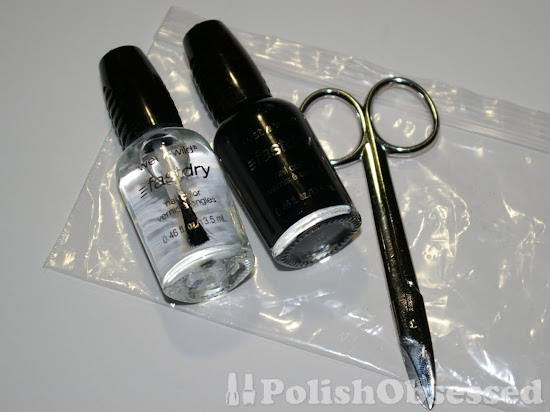
And this is all you need:
- A coloured nail polish you'd like for the design
- A top coat
- A plastic bag
- A pair of sharp scissors (small ones work best)
Tweezers will also be usefull!
First you want to grab your plastic bag and paint it generously with whatever colour you'd like to create your design in. I used Wet N' Wild's Ebony Hates Chris.
Once the polish is completely dry, you want to gently peel it off of the plastic and cut out your jack-o-lantern shapes.
Use your tweezers to place your shapes sticky side down on your nail.
Super easy right?! The design posibilities are endless and you can even create a whole pattern with polish on the plastic and transfer it to your nails.
One final Halloween inspired mani on Monday :)


What a really cool idea!! I never thought of that before! Thanks for the cool tip!
ReplyDeleteThat's a really cool way of doing nail art! So gonna try that :D
ReplyDeleteAhh SO FUN!
ReplyDeleteThanks, glad you enjoyed it :) I almost wish I had worn this one as my Halloween day manicure, I loved it so much
ReplyDelete