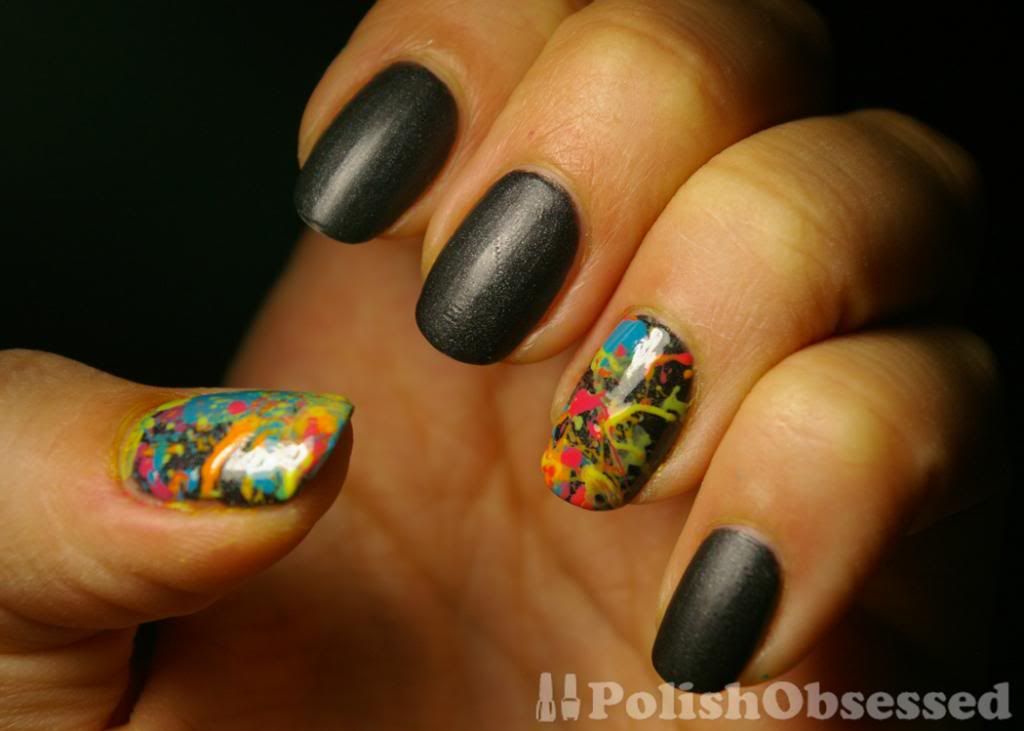
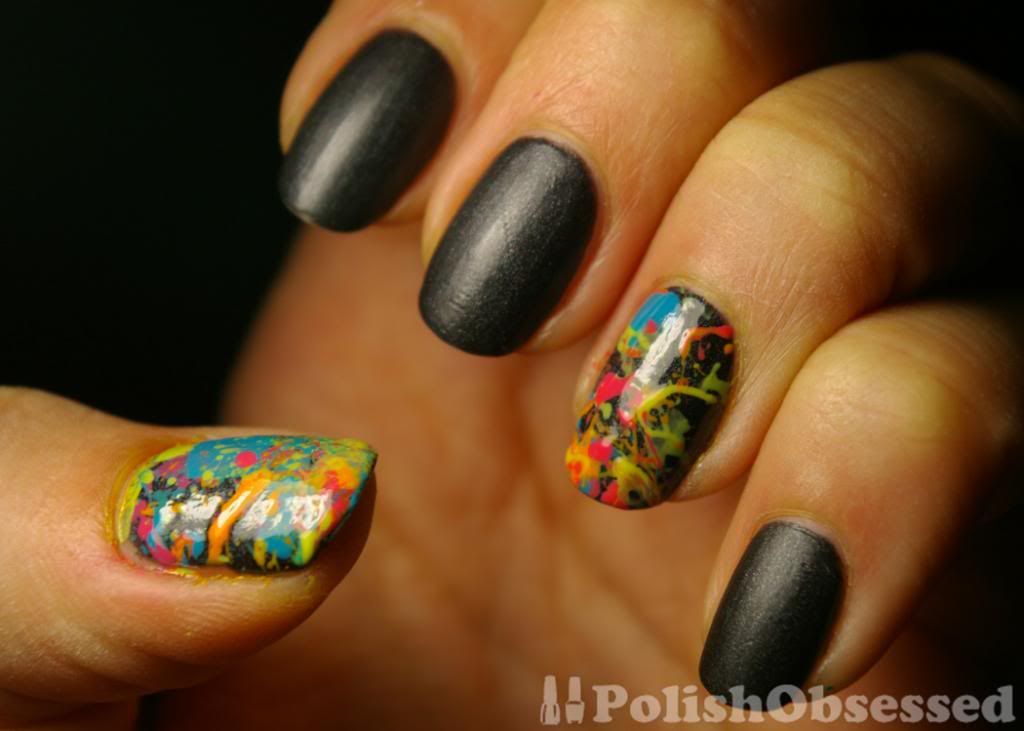
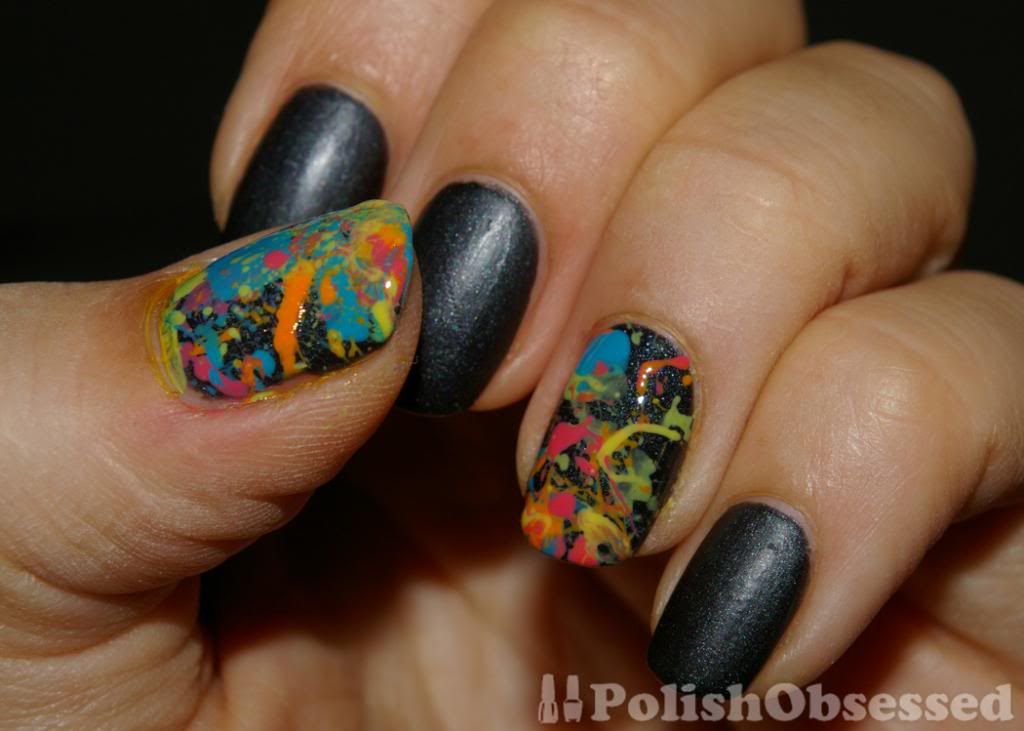
I made a short attempt to try splatter nails in the past and it was messy. I just tested the technique on a few nails and removed it. To create the platter effect I used a straw cut short. Basically you apply some polish to the end of the straw (some prefer to dip it right in to the bottle, but that is too messy for me), and blow the polish over your nail. Depending on the polish, force of breath and distance from the nail you will get a different splatter design. I chose five colours total to work with:
- Sally Hansen, Blew Me Away
- Sally Hansen, Green With Envy
- China Glaze, Papaya Punch
- China Glaze, Electric Pineapple
- China Glaze, Electric Pineapple
- China Glaze, Surreal Appeal
To avoid a larger mess than I ended up with, I taped off the skin around the nail so any excess splatter could be easily removed when the design was complete.
My initial plan was to not add a top coat, I liked the matte texture of Zoya Dovima as a base and the 3-D splatter, but the polish was so thick is some parts that I needed to add a topcoat to help with dry time and smudging. I am happy with the results, but would like to try again without a topcoat.
I have another plan in the works already for another splatter look for a full mani. A light bulb went off after clean up when I saw the paper towel I was using to cover my table from the excess polish splatter, it looked so cool! So my next attempt will involve DIY "nail art strips" by doing my splattering on a plastic bag and applying over a base colour on my nails. No mess plus it's a lot quicker if you do the splatter the day before to ensure it is dry.
Have you tried a splatter mani before? What technique did you use?


I can never get anything to happen when I blow through the straw. Weak lungs? Poor dipping skills? We may never know. You have performed brilliantly, though! :D
ReplyDeleteThanks! I'm glad you like it. this time around I cut the straw down to about one third of the actual length, that may help if you decide to try again :)
Delete