Back to regular scheduled blogging...
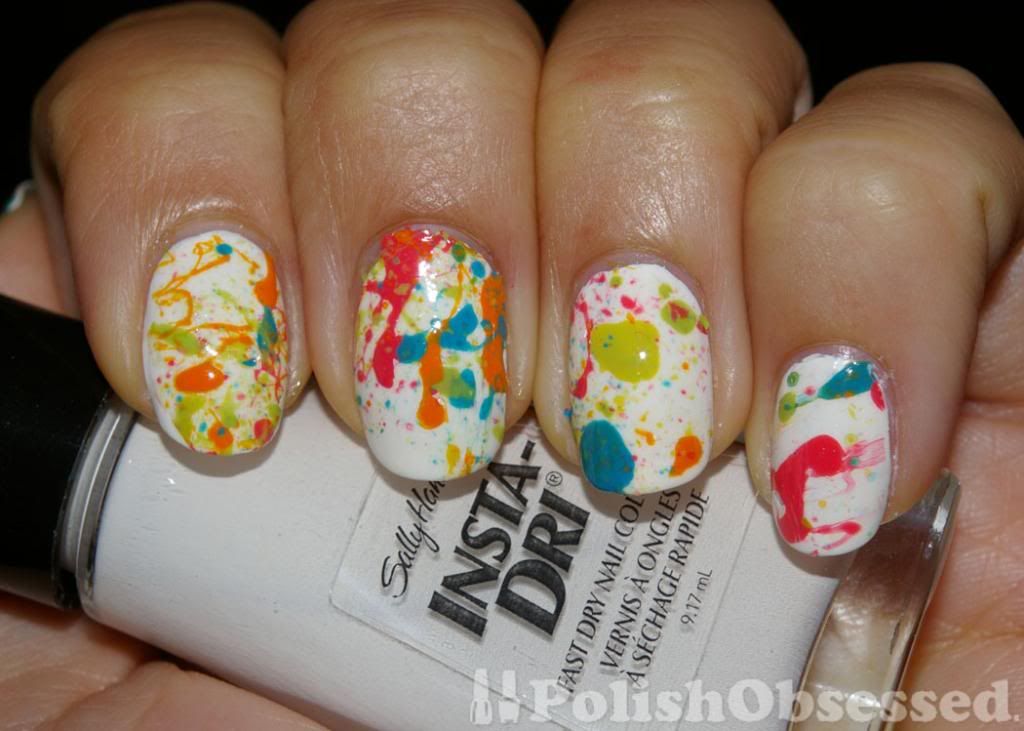
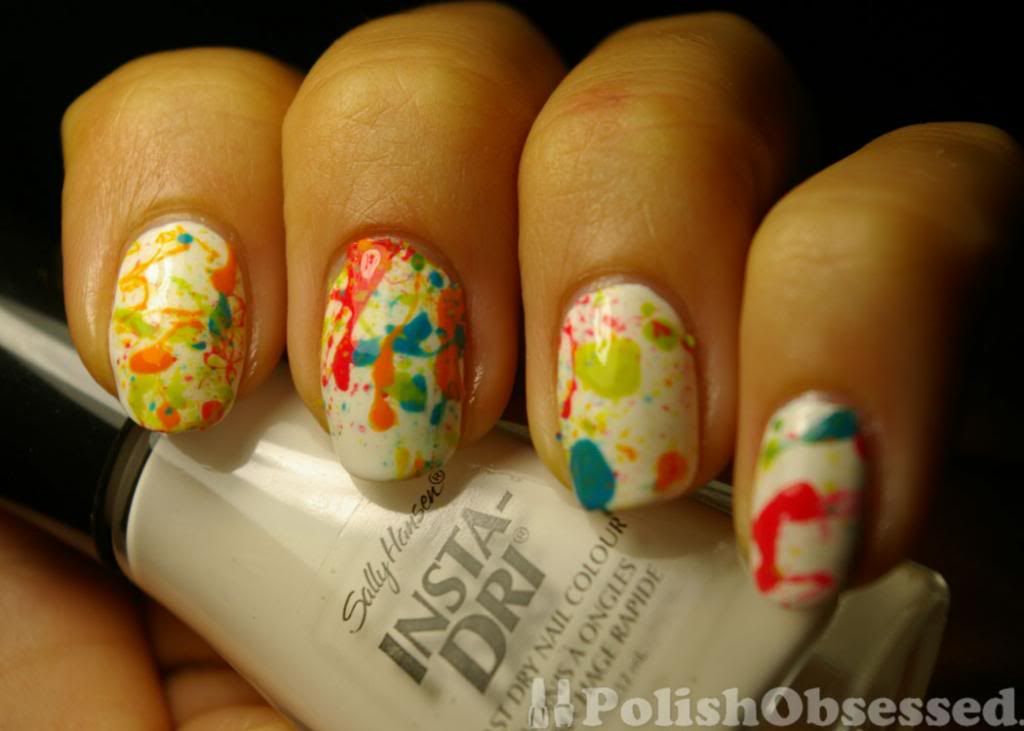
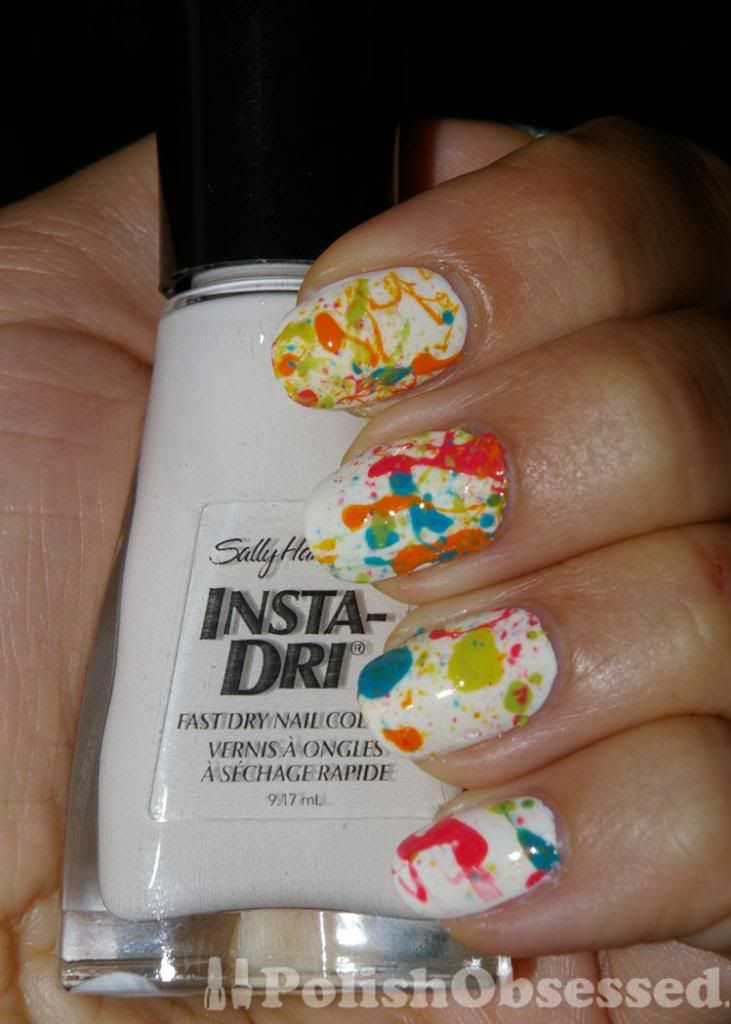
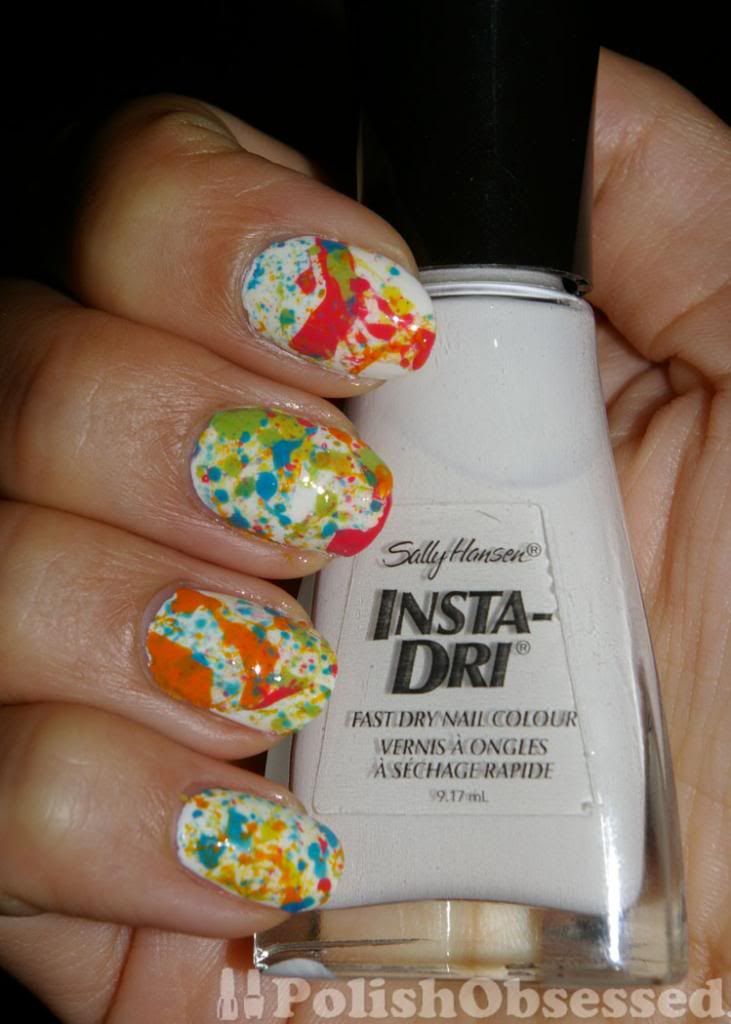
I'm pretty sure if dexter ever killed a clown this is the blood splat it would leave behind lol. Today I have a pretty cool DIY nail decal idea I'd like to share. Remember these nails, I loved the look but the splatter it was super messy, it involved a lot of clean up plus I wasted polish when I missed the nail! The napkin I placed below my nails to prevent the polish splatter from ruining my desk gave me an idea.. it looked so cool, a great mix of all the colours. I thought to myself, what if I do the same process on plastic, blowing polish with a straw randomly in different colours and peel of as nail decals?
Honestly it was that easy. This is what you need if you'd like to try the same:
- plastic sandwich bag
- a straw
- an assortment of polish colours
- a clear topcoat
- tweezers
Step one - Choose your polish colours.
Step two - Apply polish to the end of the straw or dip it in to the polish bottle. Be carefully, you don't want to much Polish on the straw.
Step three - Blow!
Step four - Continue this process until you have a good portion of the bag covered with drips and drops of polish. You don't want it to be too saturated.
Step five - Let the polish dry. I let it dry over night if you can.
Step six - Once the polish is dry apply a clear top coat over the splatters. Random sections are good, they will dry faster.
Step seven - Wait for the top coat to dry.
Step eight - Once the clear polish is dry (completely dry works best, give it a few hours if you can, it will be easier to work with), use your tweezers to gently pull u a strip of the design.
Step nine - Position and place on the nail, press down to make it stick in to place.
Step ten - Apply a thick layer of top coat.
Thats it! pretty easy and quick, something you can do the day before and really takes no time at all. I love creating my own nail strips, every nail unique and it looks like a lot more time was spent. Anybody can do it :)


Have a great vacation~
ReplyDeleteThanks, I had a great time :)
Delete