Friday, January 31, 2014

SensatiNail Review - UV Gel Polish

I have been sporting an awesome pedi for just over a month now, I gave it to myself just before Christmas. Isn't that crazy, it's been just over a month since the holiday season! I tried out some LED UV gel polishes I acquired towards the end of 2013 from SensatiNail. I typically go for neutral shades when picking out gel polishes, if I'm going to be wearing them longer than regular polish I'd like to use them as a base for nail art, glitter toppers, etc., should I want to change it up without removing the full gel.

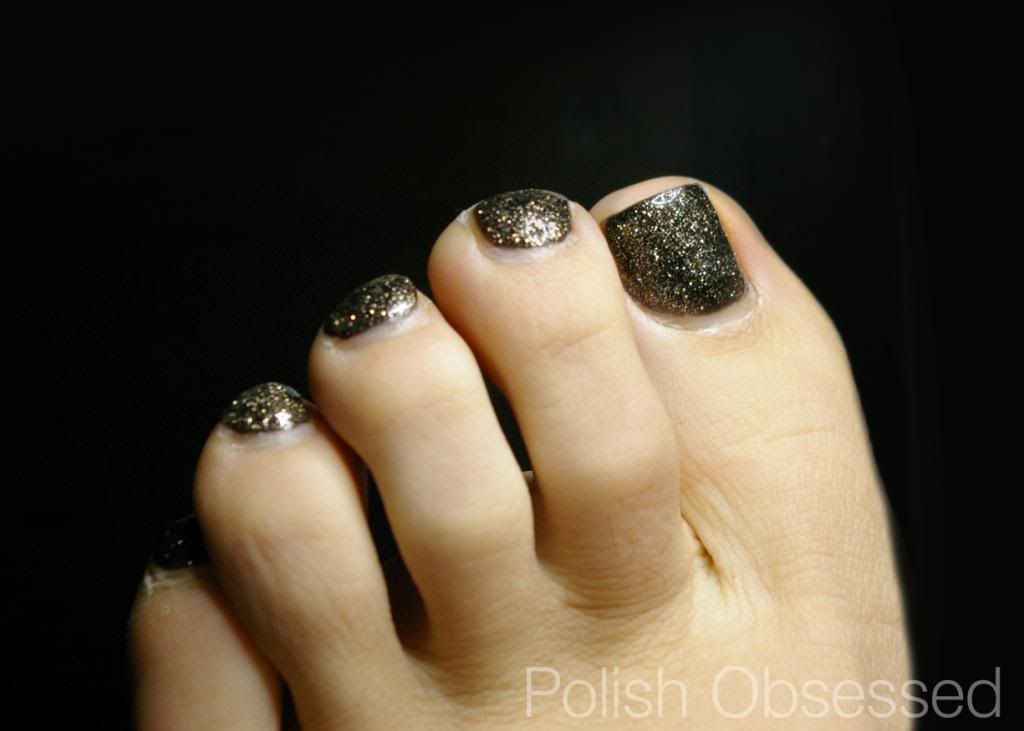
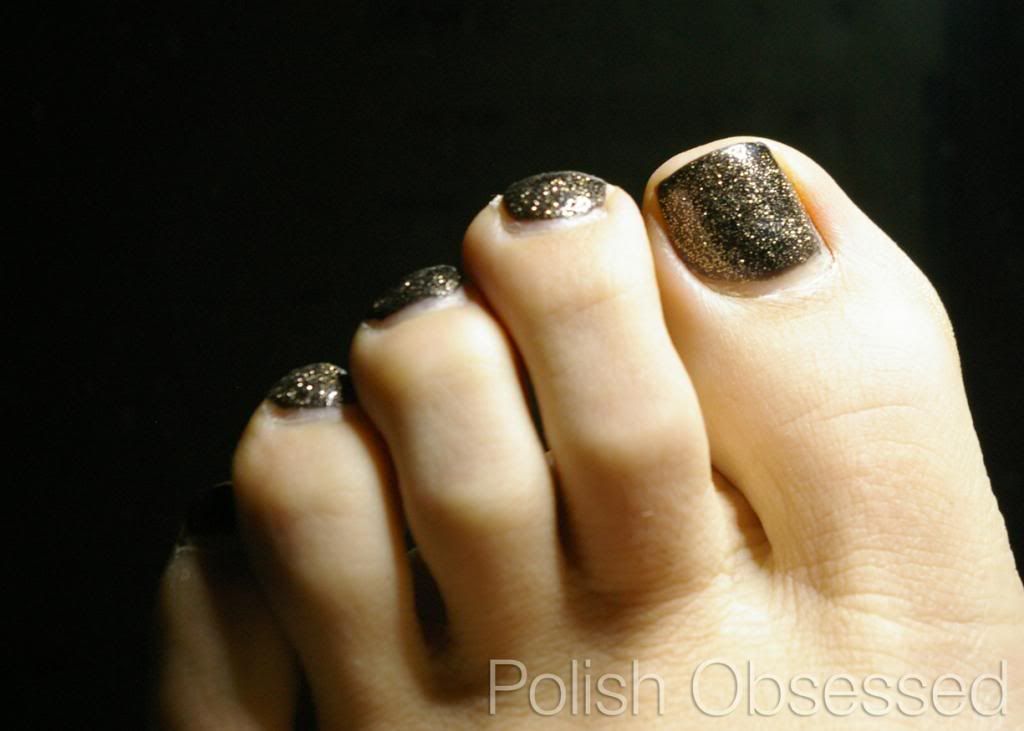
My first SensatiNail experience is with two colours, Midnight Rendezvous and Gold Glitter. Midnight Rendezvous is a basic black creme and Gold Glitter is a dense gold glitter in a clear base, clever name, I know ;) . I thought these would look great together should my toes be showing during Christmas and New Years, something with a little glitter, but nothing over the top. In conjunction with the Sensatinail colour polishes, I used my Bioseaweed Gel base and top coat because it is what I have on hand. For me there was no need to purchase the starter pack since I already own UV gel tools (nail cleanser, base/top coat and Kiss branded LED light).

 photo IMGP8277_zps51d4c594.jpg


 I won't get in to too much detail about the steps involved, but this is the order of application for me:

- clean nails (99% alcohol)
- apply base coat and cure
- apply thin coat Midnight Rendezvous and cure
- apply thin coat Gold Glitter and cure
- apply top coat and cure
- apply 99% alcohol to remove residue and reveal shine

Very quick and simple steps to follow for a flawless, shiny looking mani or pedi that dries in seconds. I am super happy with the results, as I said I applied this a day or two before Christmas and it has held up very well. I didn't take any photos after the initial application, the photos in this post are current, if there was no growth it would look as if I just applied it! As you can see the glitter is pretty dense, I probably could have reached full opacity with a few coats.

 photo IMGP8274_zpse4c95a5c.jpg

 I originally decided to try these polishes as a recommendation from a friend and am glad I did. These are highly pigmented and the formula is thin and easy to apply. I also like how it works with my Kiss branded UV LED lamp. The only dissapointment I have is bottle size, I know most gel polishes available to non-professionals are smaller, but It would be nice to have the option. However, due to formula and pigmentation, I do see these bottles lasting me a while.

 I have also noticed another offshoot brand/collection from Sensatinail (Nailene), Fuse. I saw these at Rite Aid while in the States this month and saw a review on YouTube. Although the polish size is larger and the price point is lower, from what I gather it is not as long lasting as the Sensatinal gels.

Thursday, January 30, 2014

First Cross-boarder Haul of 2014!

I headed across the border over the weekend and picked up a few polishes, as usual. I didn't expect my haul to be so awesome, but it totally is! I got some awesome deals too due to in-store promos and coupons. First stop was Rite Aid,  they had various polish brands buy one get one half off. I picked up two Sinful Colors and two NYC polishes. The NYC BOGOs are nothing special, just stocking up on a great topcoat I rediscovered recently, NYC in a New York Minute quick dry, Grand Central Station x2.

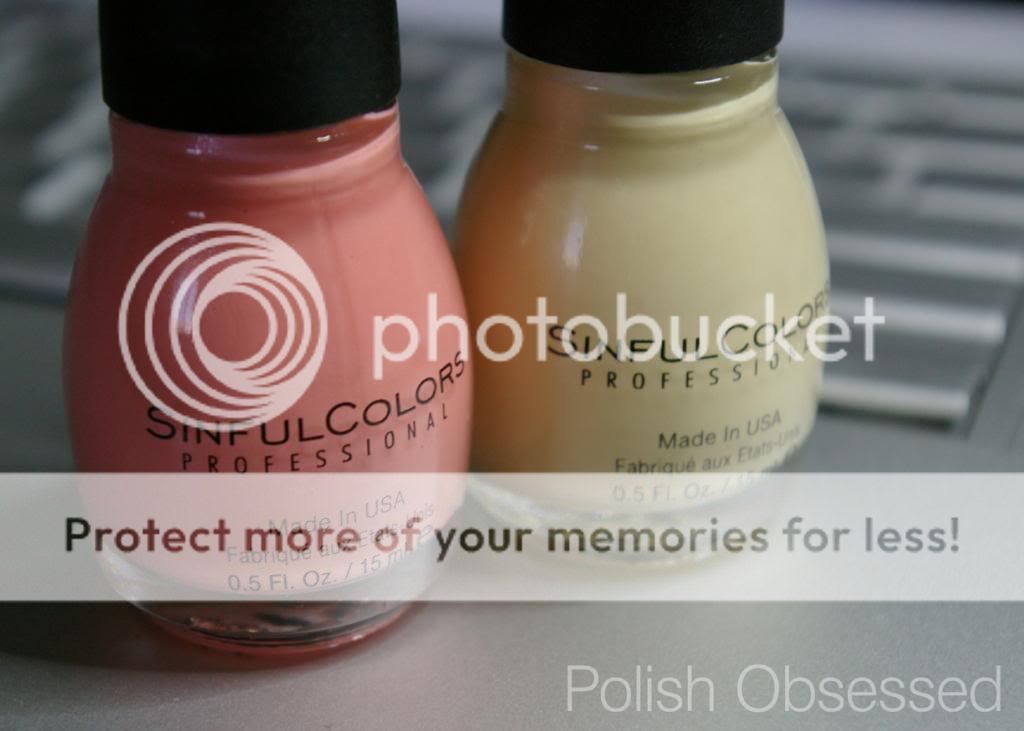
From left to right, Sinful Colors Cream Soda and Daisy Daze, apart of the Mod in Bloom collection.

 photo IMGP8216_zps6db65d95.jpg

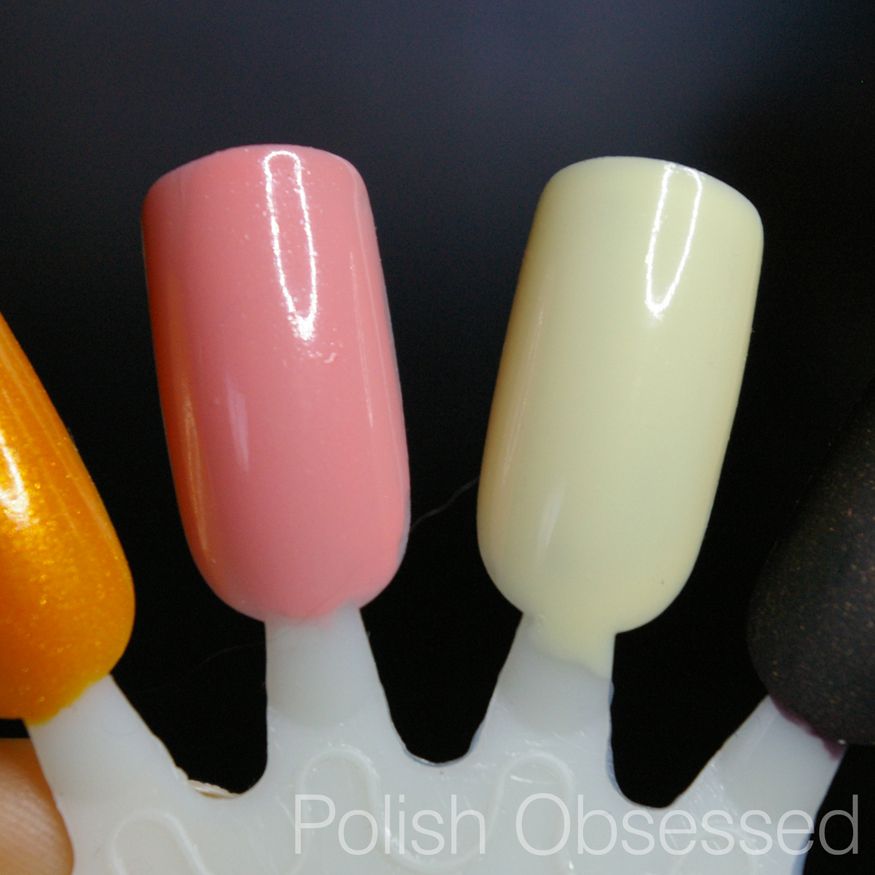
Cream soda is a pink based coral pastel creme with a slight silver shimmer and Daisy Daze has got to be the lightest pastel yellow I now own. Almost an off white with yellow undertones, think Illimasqua Load. One thick coat is shown in the swatch below, two medium coats for Cream Soda.

 photo IMGP8255_zps3eed9fb0.jpg

I saw both of the new spring displays out for Sinful Colors, both beautiful collections of colour as a whole I totally would have picked up more colours if I didn't already own some similar shades and was being selective.  


The Oh My Mod collection on the left has deeper hues while the Mod in Bloom collection contains lighter pastels.

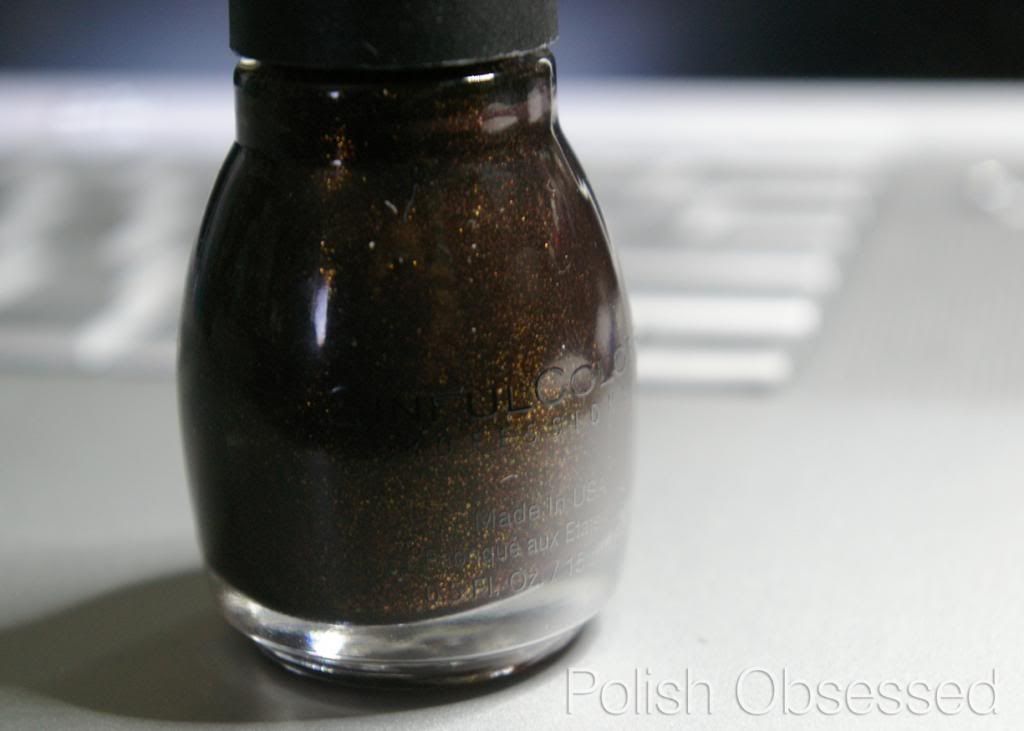
Next I hit up Wal Mart and finally found Sinful Colors Leather Loose! I had been looking for this for a few months now and found it in the most unlikely place, a Sinful end cap with a random assortment of polishes, woohoo!

 photo IMGP8218_zps22443185.jpg

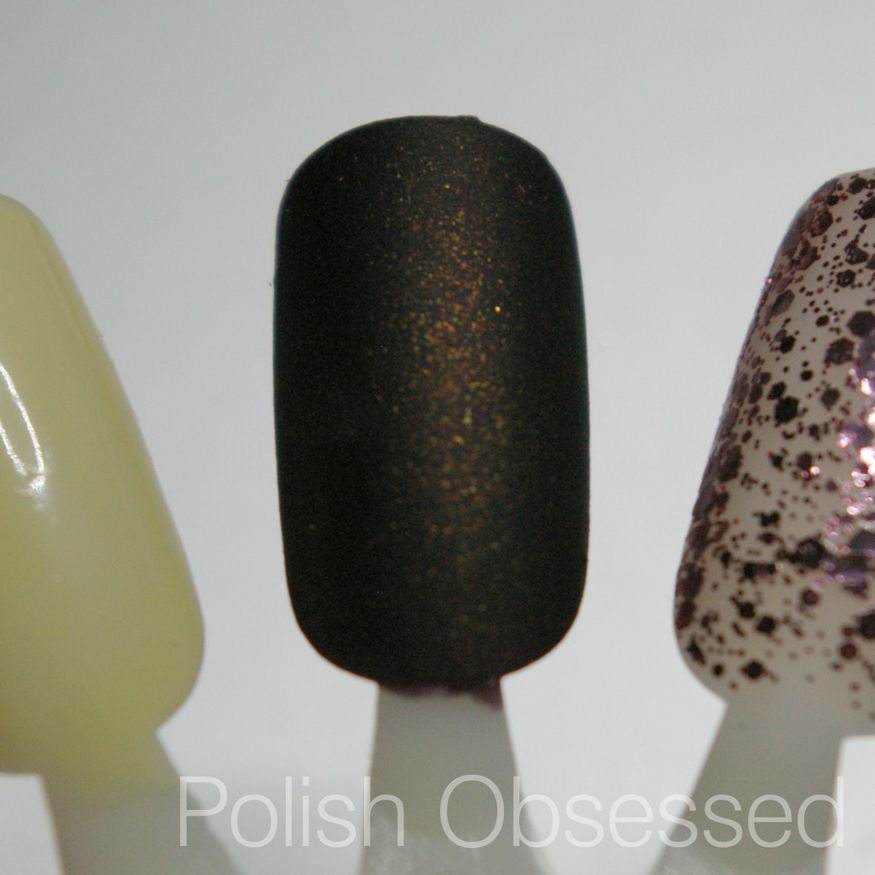
Leather Loose is a deep brown/maroon matte polish with flickers of shimmery gold opalescent flakies. It has a "leather", matte finish. Two coats are shown in the swatch below.

 photo IMGP8241_zpsfcd62024.jpg

Last polish stop, Sally's, and where I hit the mother load! First a quick explanation, I always plan my visits to Sally's to make sure there is some sort of promo and that I have coupons. I purchased 9 polishes total, with promos and discounts it worked out to only $1.75 per polish! Definitely has to be one of my best hauls!

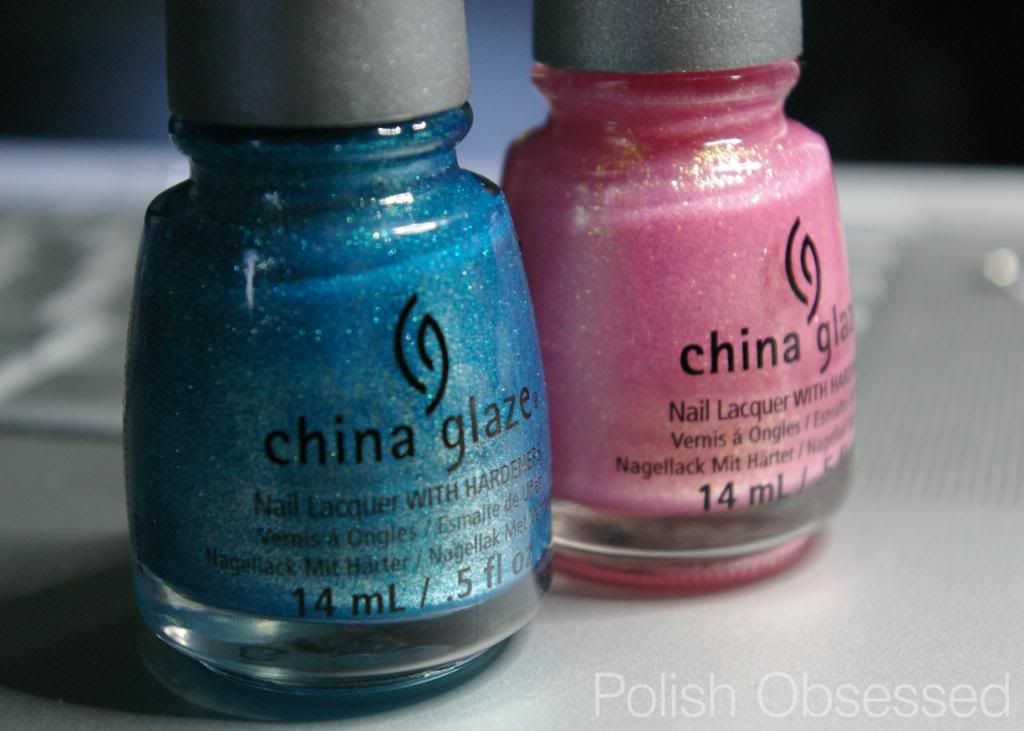
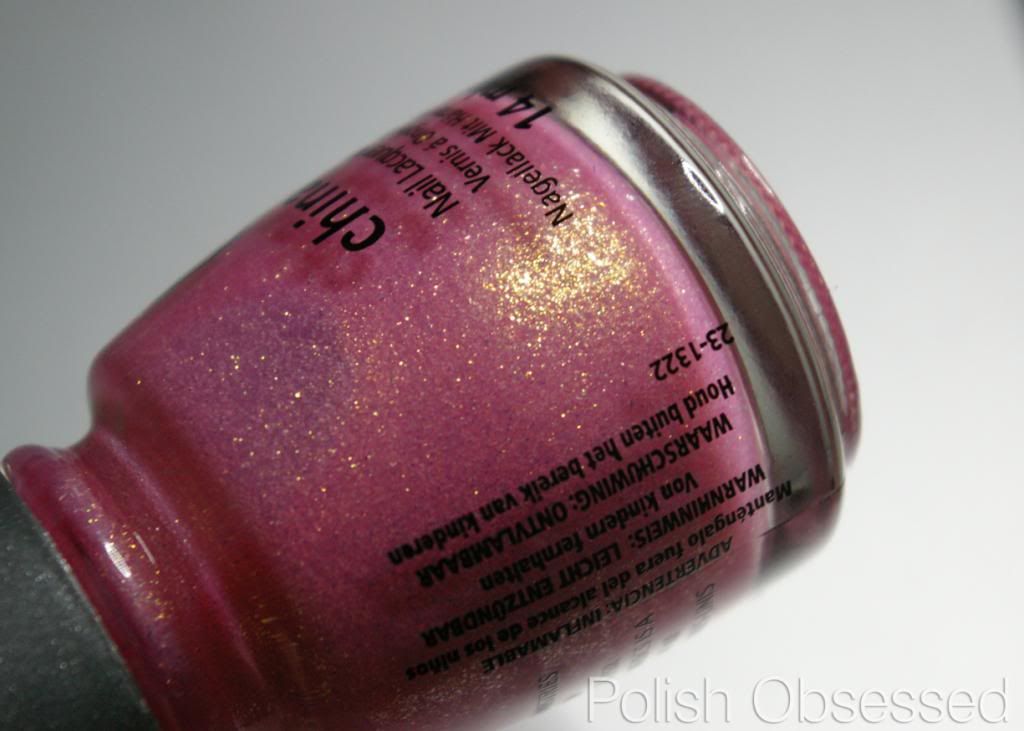
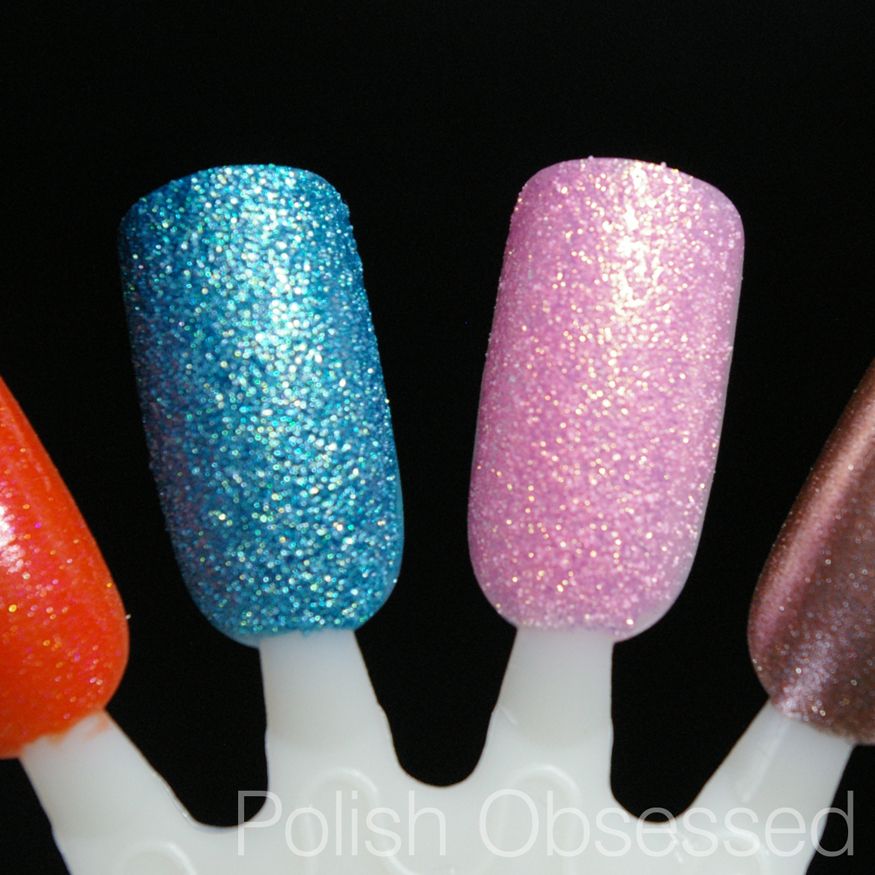
First promo, buy Seche Vite, get a China Glaze free! They happened to have their spring texture display out already so I took advantage and picked up two, Seahorsin' Around and Wish on a Starfish. In hind sight I should have picked up another Seche Vite so I would get another China Glaze free. Oh well, get his promo while you still can ladies!

 photo IMGP8222_zpsa04bb967.jpg

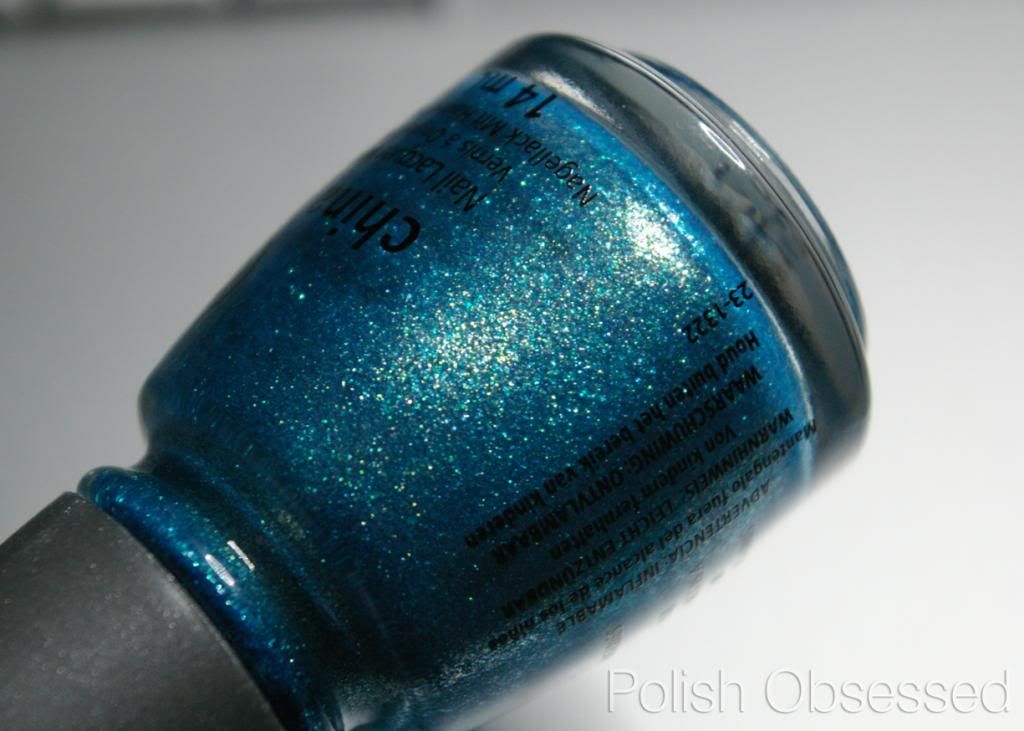
Seahorsin' Around is a deep teal with golden shimmer. This polish is very saturated with colour and appears more blue on the nail. Two coats are shown in the swatch below.

 photo IMGP8235_zpsf3782b82.jpg

Wish on a Starfish is baby pink with golden shimmer. The formula was a lot thinner than I thought it would be, three coats were needed on my nail wheel to build it up.

 photo IMGP8236_zps56312030.jpg

 photo IMGP8252_zps9256cef0.jpg

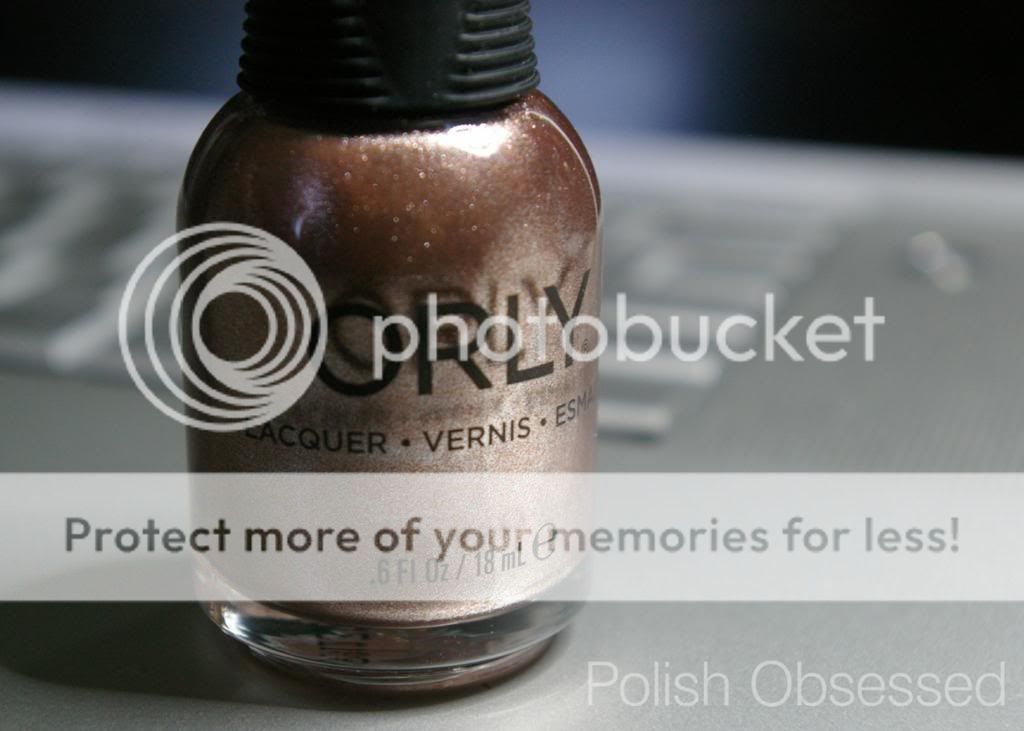
Orly was BOGO free, so I picked up Rage and Star Trooper.

 photo IMGP8224_zps1a8fcff9.jpg

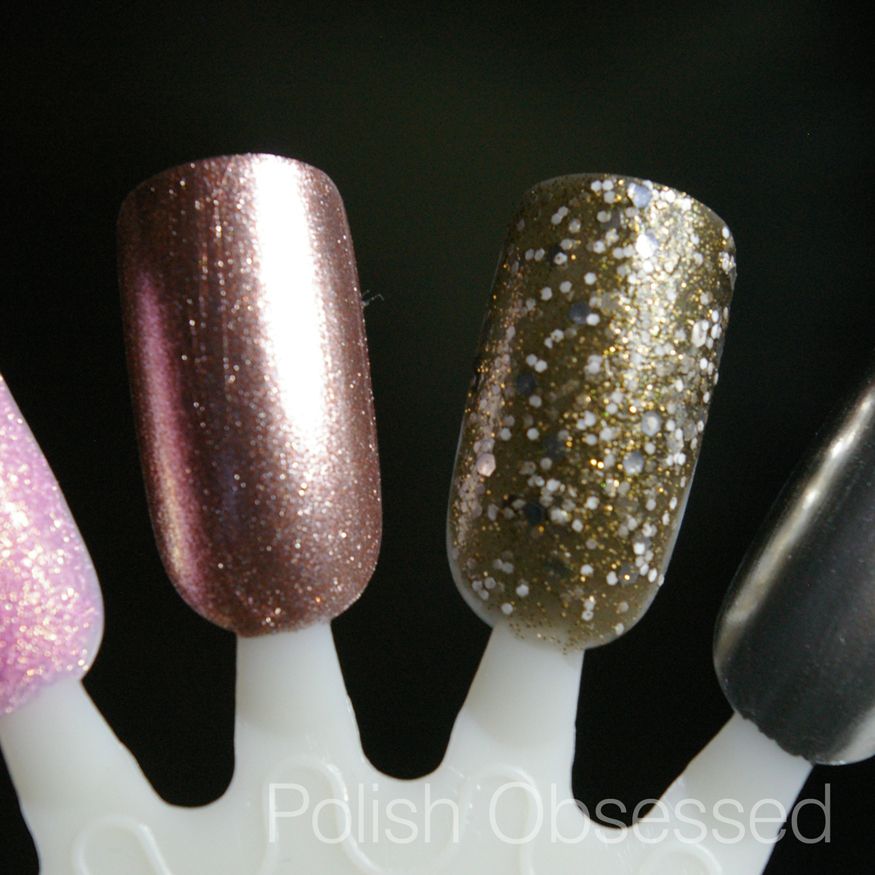
Rage is an oldie but a goodie, a rose gold foil, two coats are shown in the swatch below.

Star Trooper was a random purchase since I was getting one for free, I didn't have a lot of time to put thought in to it lol. It is a mixed glitter comprised of silver hex and white glitter with a gold shimmer and murky base. A lot going in in that bottle!

 photo IMGP8246_zps53922e83.jpg

EDIT - I ended up returning Star Trooper After swatching it on my nail wheel, I just cant see myself wearing it.

 photo IMGP8227_zpsbb9ff300.jpg

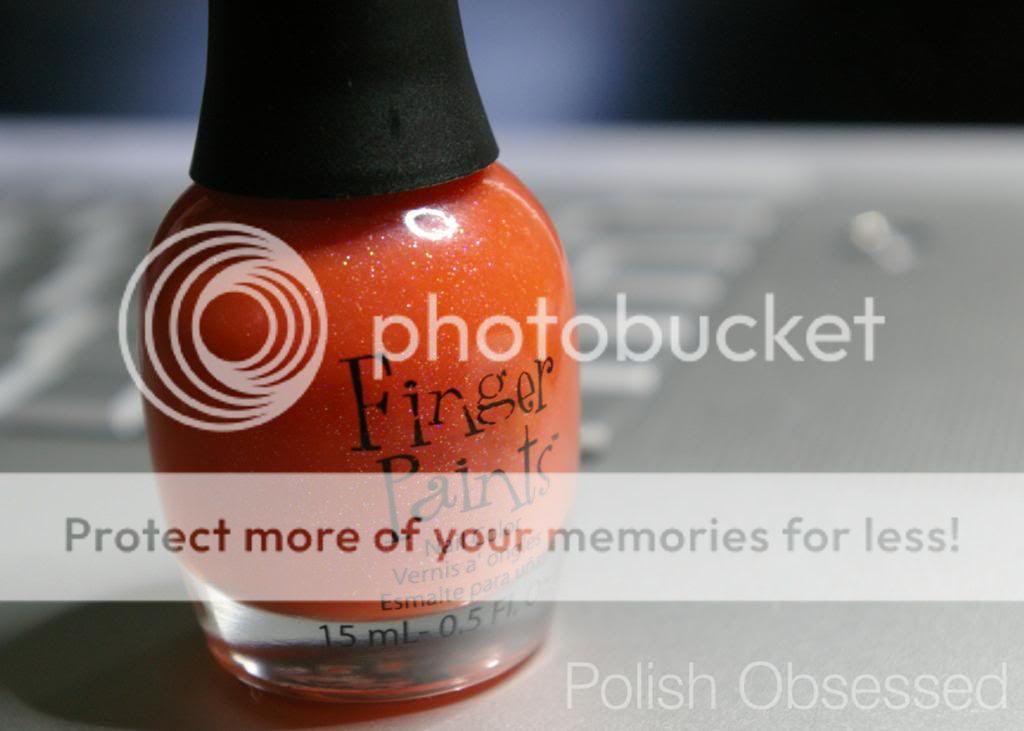
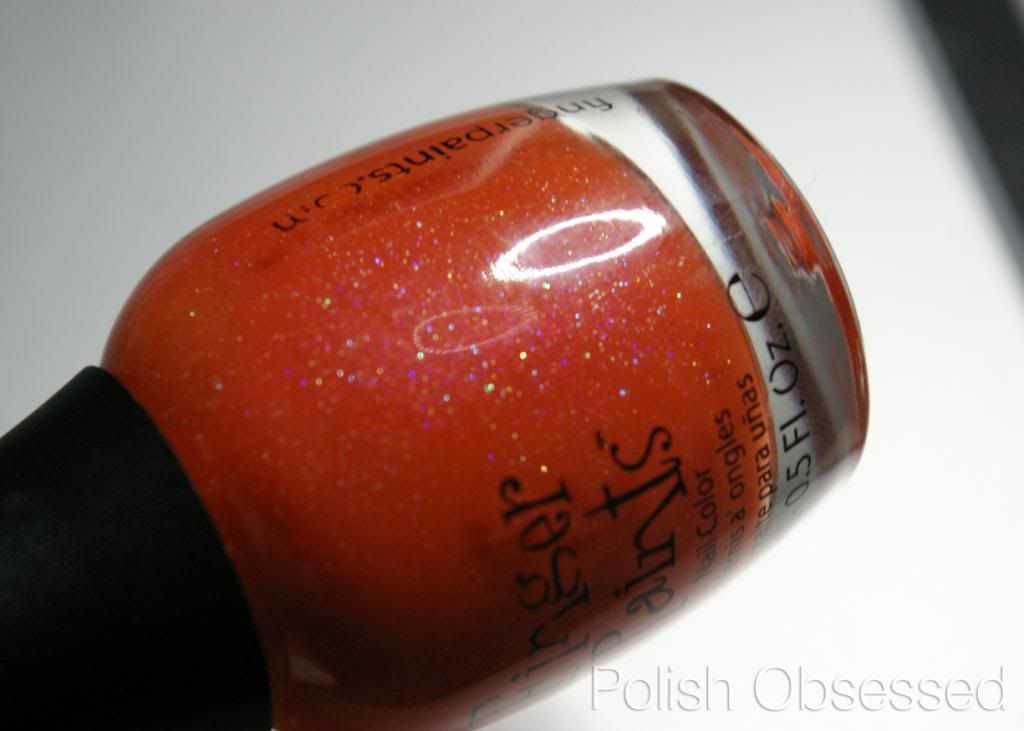
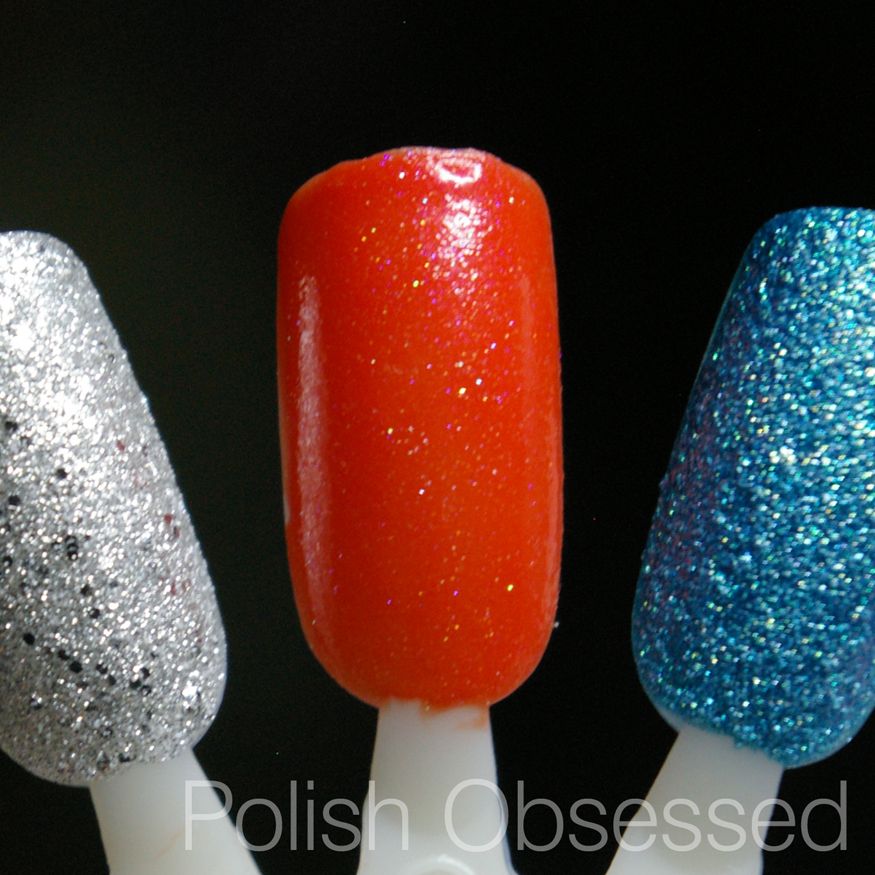
Next up Finger Paints Sarong So Right, a coral jelly like polish with holographic micro glitter. Two to three coats were used for the swatch below, two would have been fine but I accidentally smudged it so I added one last coat to even everything out.

 photo IMGP8237_zpsbe2e5f7b.jpg

 photo IMGP82502_zpsf8586064.jpg

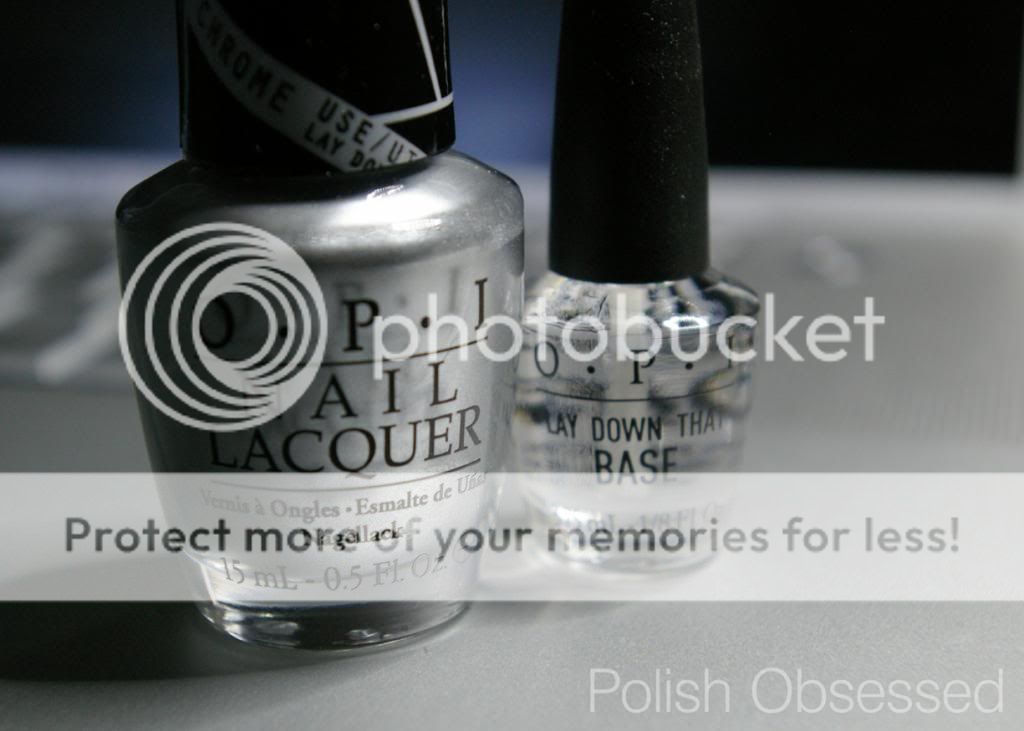
And finally OPI's "duet pack" of Push and Shove, which is apparently the coolest thing ever. This is apart of Gwen Stefani's collaboration collection.

 photo IMGP8229_zpsd739b84e.jpg

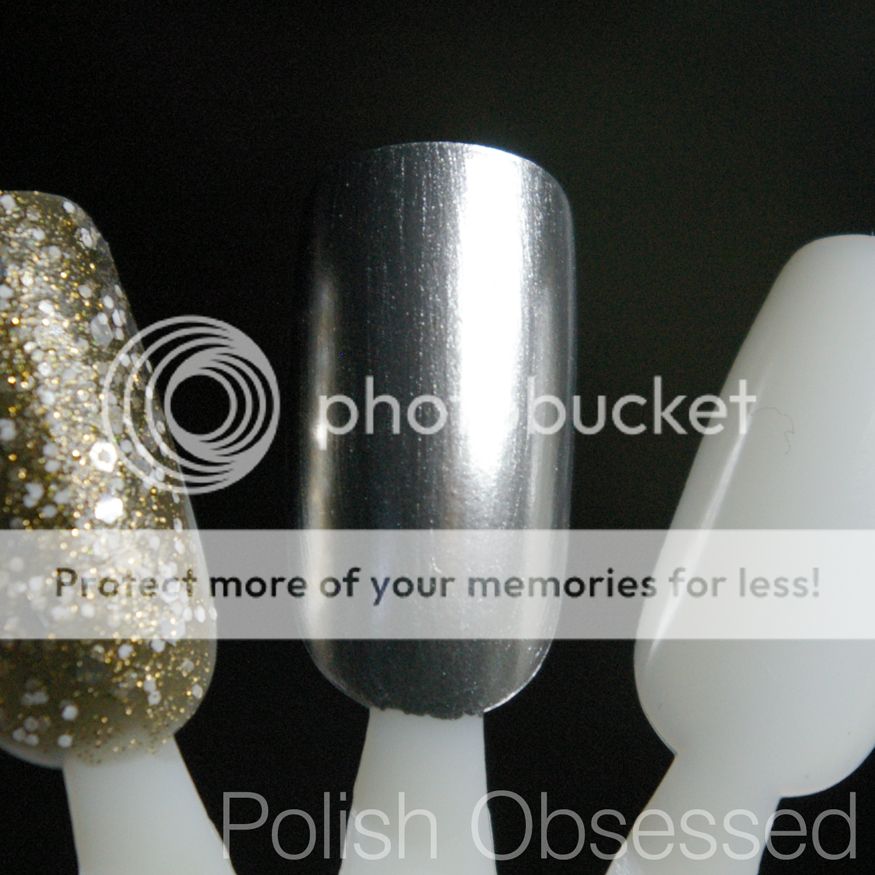
Push and Shove is a silver polish with a high chrome finish. It came with Lay Down That Base, which is imperative to use before applying Push and Shove. Which makes me wonder what you are supposed to use when you run out of the base, lol. There is no full-size standalone bottle available for purchase that I am aware of. Very confusing OPI! The formula is very thick and only one coat is needed for opacity, although I used two on my nail wheel.

 photo IMGP8244_zps722813fb.jpg

I want to do my own experimentation with application of this polish to see if I can use a base coat/top coat and still get the mirror-like effect.

EDIT: I also picked up some other polishes when I returned Orly Star Trooper:


 photo IMGP8230_zpse343eeb0.jpg

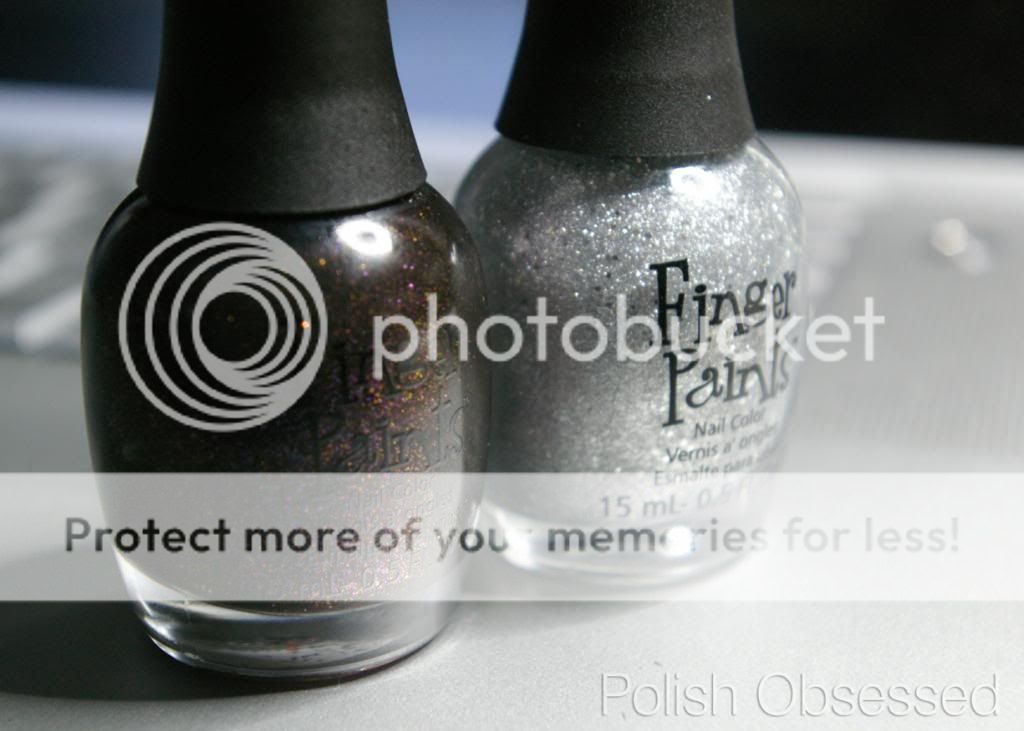
Finger Paints Snow Crystals and Winter Chill.

 photo IMGP8234_zps3b7413df.jpg

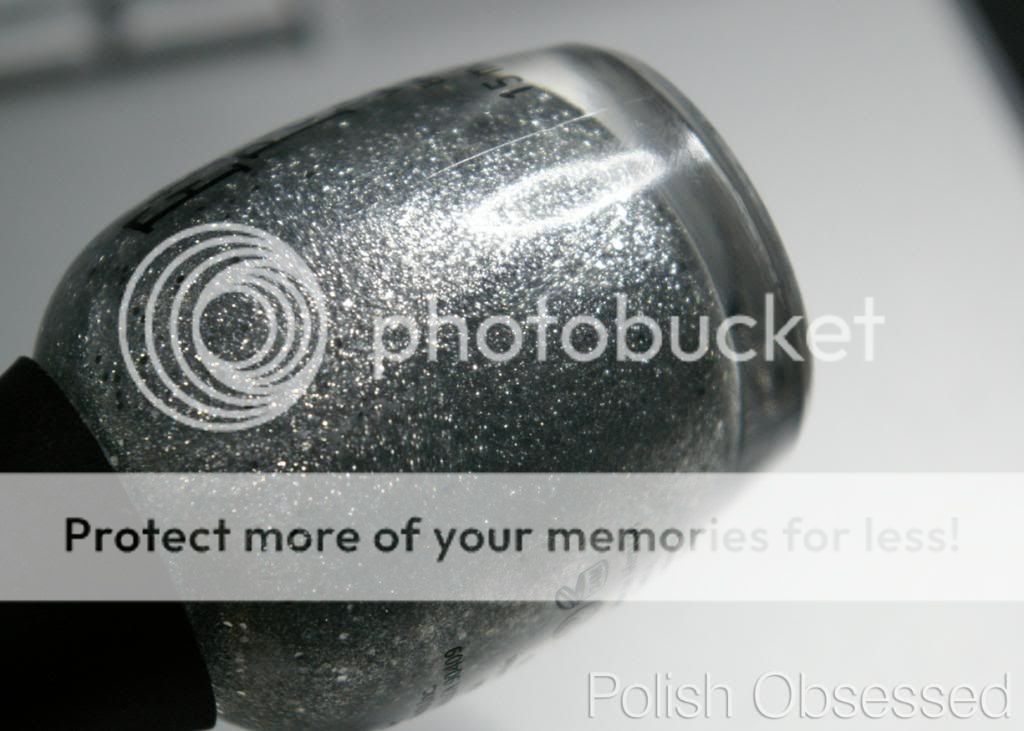
Snow Crystals is a dense silver glitter made up of mico and hex glitter. I think this one is supposed to be a textured polish, but it has less texture that most. I used two coats in my swatches below.

 photo IMGP8233_zps7dca6b42.jpg

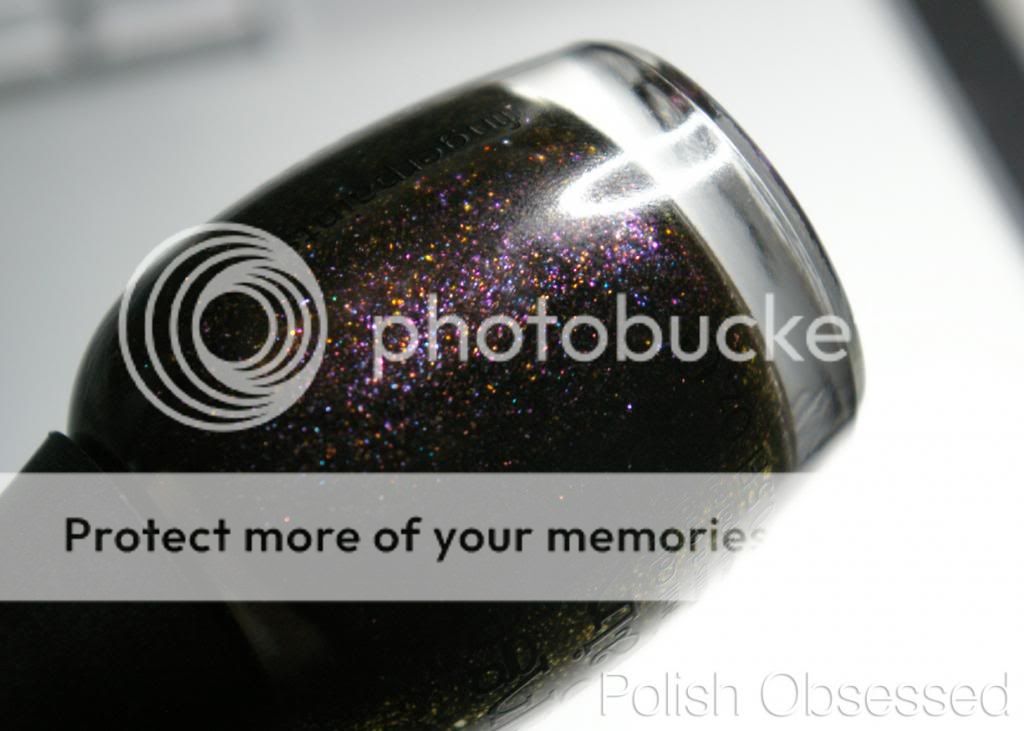
Winter Chill appears to be a duochrome in the bottle. On the nail it is a multi glitter with a black jelly base. This does dry to a textured finish, I used three coats for my swatches below.
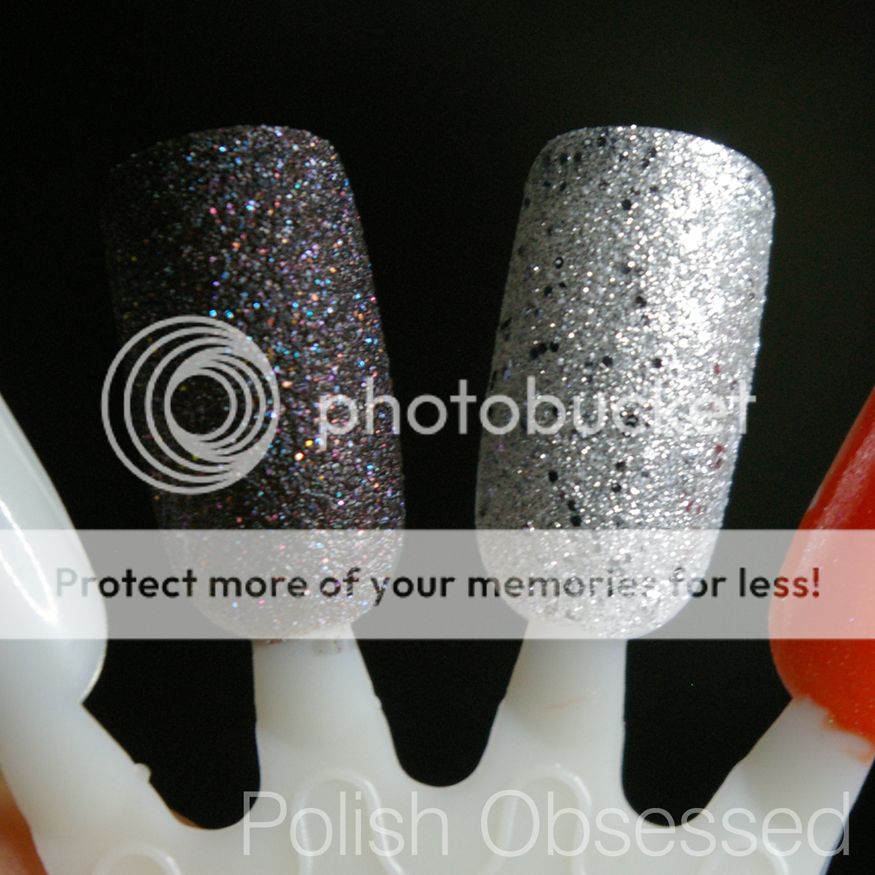
 photo IMGP8250_zpsb921540a.jpg

I am loving the fact that I can pick up new OPI collections at Sally's for a reasonable price too! So happy about that :) 

Wednesday, January 29, 2014

Let It Snow!

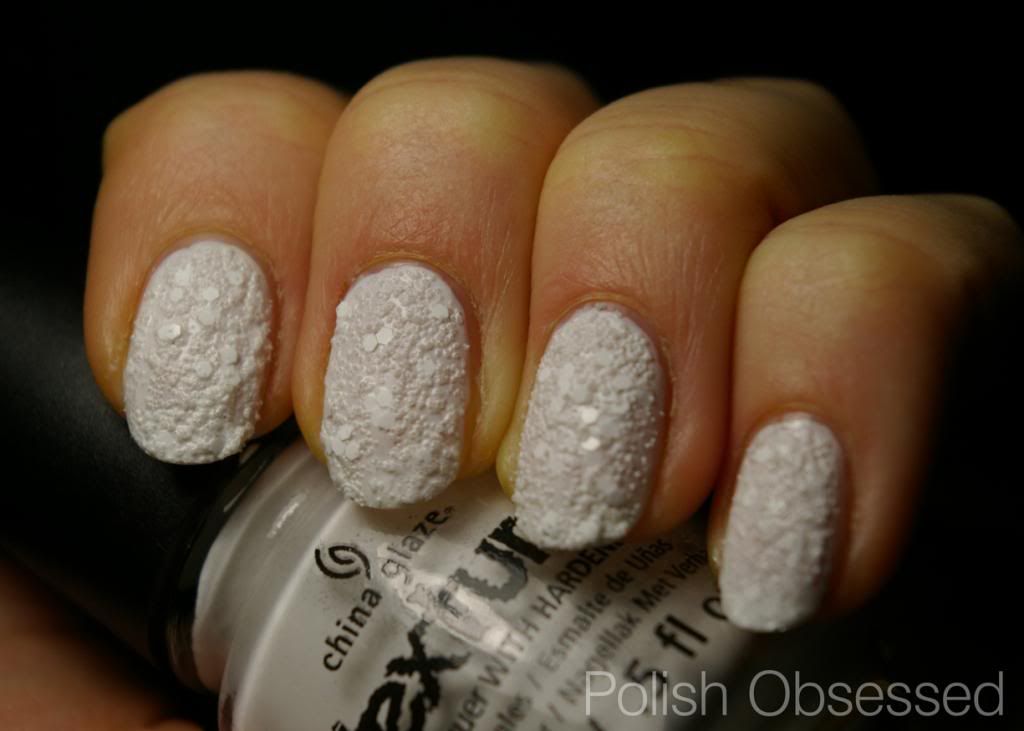
I was sure I was going to bust out China Glaze There's Snow One Like You around Christmas but I just never got around to it. I thought for sure it was just collect dust in a drawer until this years Christmas. But you know what, the snow is still coming down like crazy over here, so today I have a weather inspired polish choice, and this week there was a lot of snow!

 photo IMGP8208_zpsfce19d6a.jpg

There's Snow One Like You got very mixed reviews, this is a polish you either love or hate. For those of you who may not know, it is a white textured polish which is meant to resemble the texture/look and feel of snow. Originally I was NOT interested, the swatches I was seeing and the reviews I was reading were not the best, cottage cheese comes to mind lol. I decided I should try it out for myself after I saw a few nice swatches of the polish. From what I read it seemed the main issue was thickness of the polish and in some cases sheerness.

 photo IMGP8209_zps8ef7b18b.jpg

I first applied a thin coat of Sally Hanesn New Lengths Ceramics in White Ghost to my nails. I didn't layer to opacity, just enough to cover the nails. I needed a base of white so I didn't make a mess of the polish trying to get it opaque. Once the white was dry I added a thin to medium coat of There's Snow One Like You to each nail trying to spread it as evenly as possible. After the first layer was dry, I made touch ups where I wanted some more texture and was done! I found that in the swatches where multiple layers of the polish was added it lost some of its texture and looked more like melty snow.

 photo IMGP8208_zpsfce19d6a.jpg

I was weary as first about wearing the infamous textured polish but am happy with the outcome, I really do like it! What do you think, do you own a bottle?

Tuesday, January 28, 2014

Decisions, Decisions...

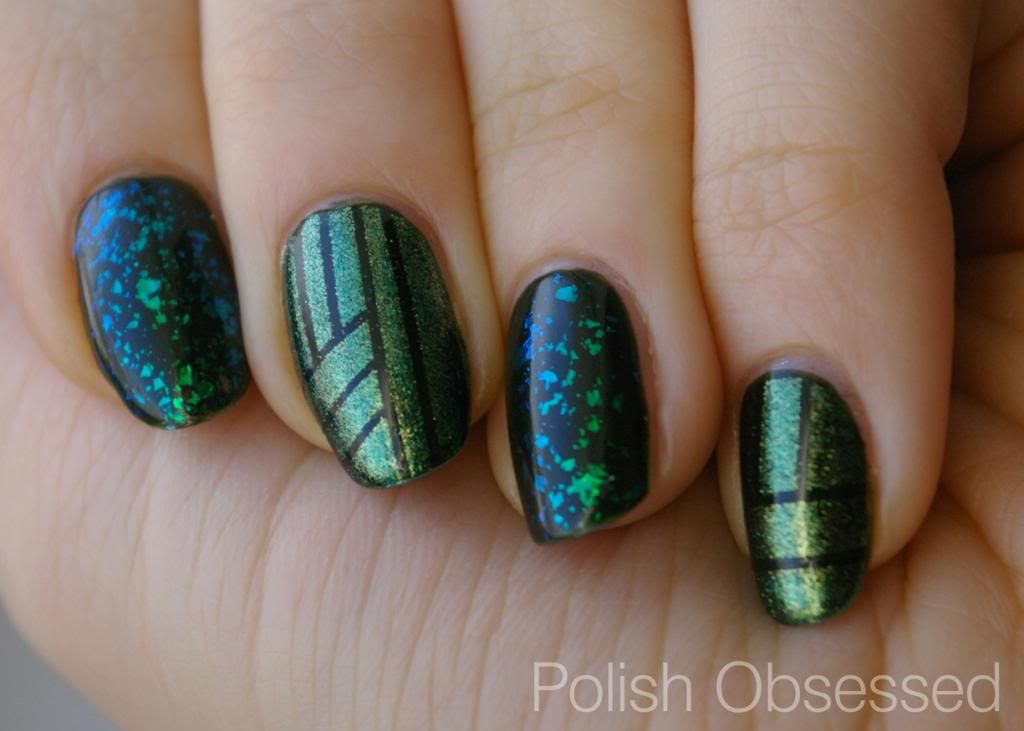
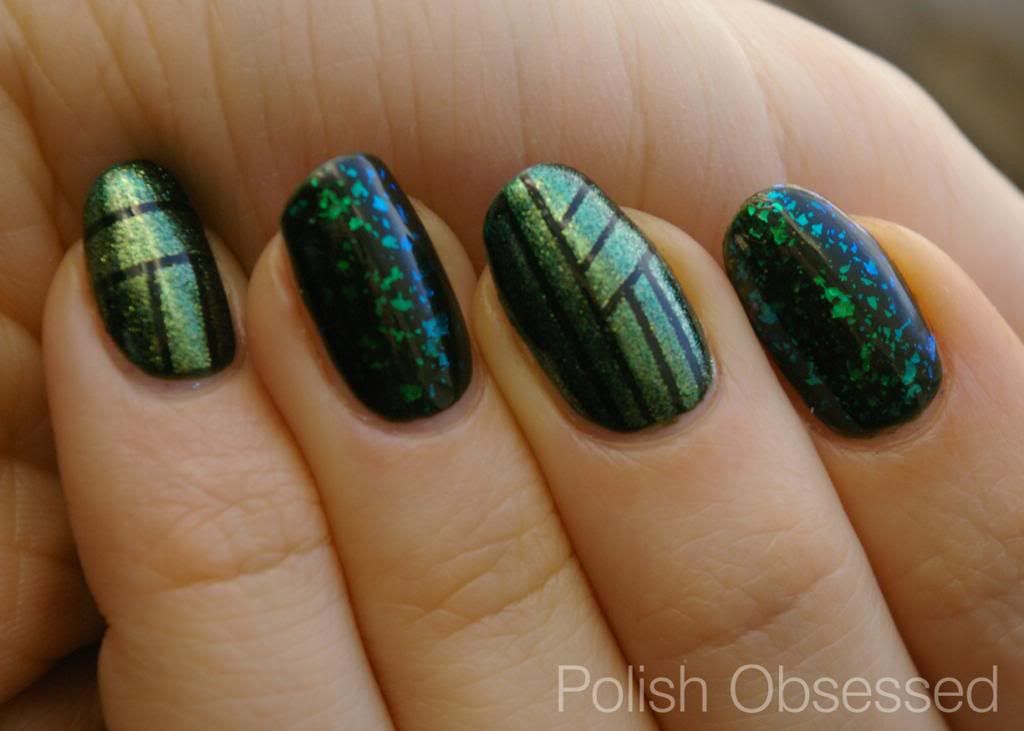
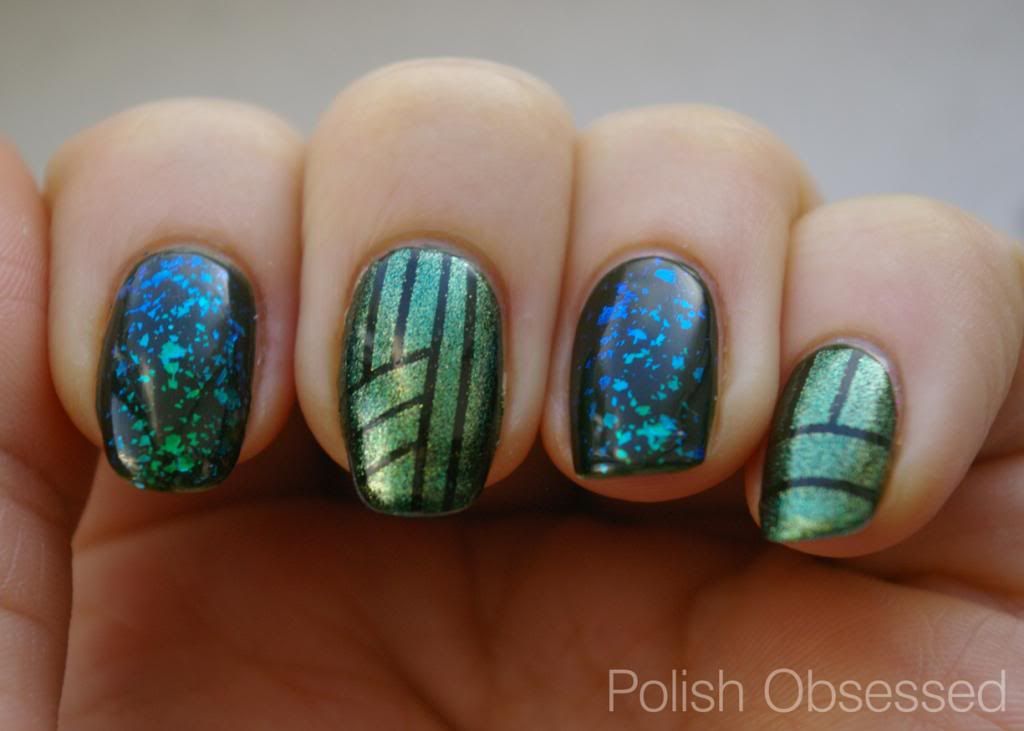
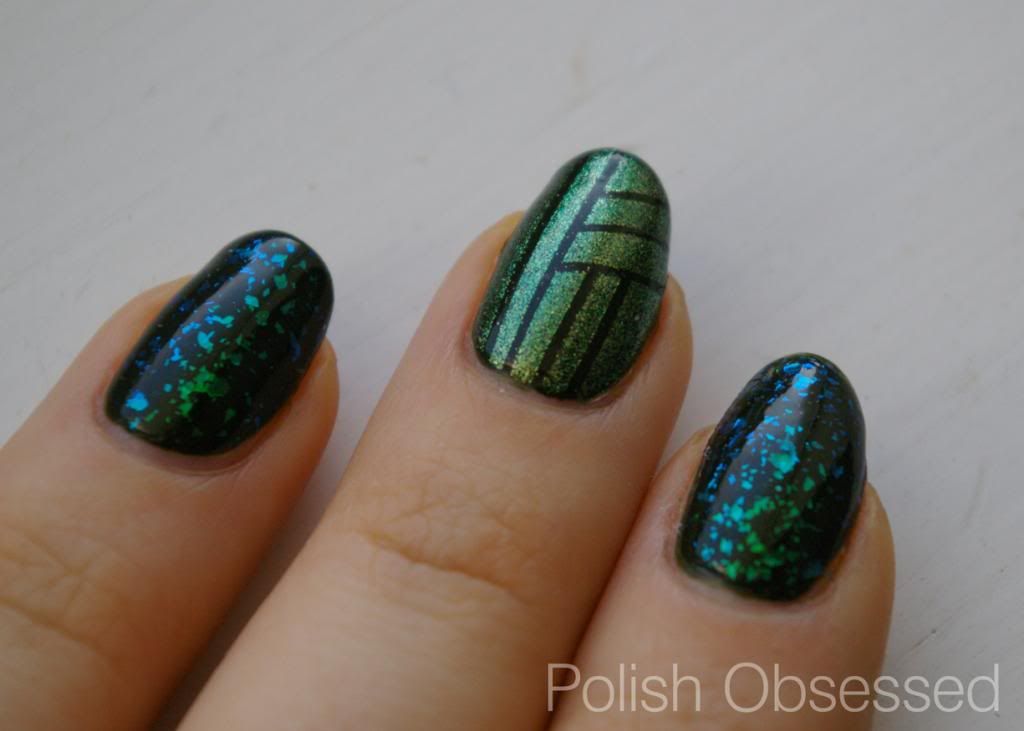
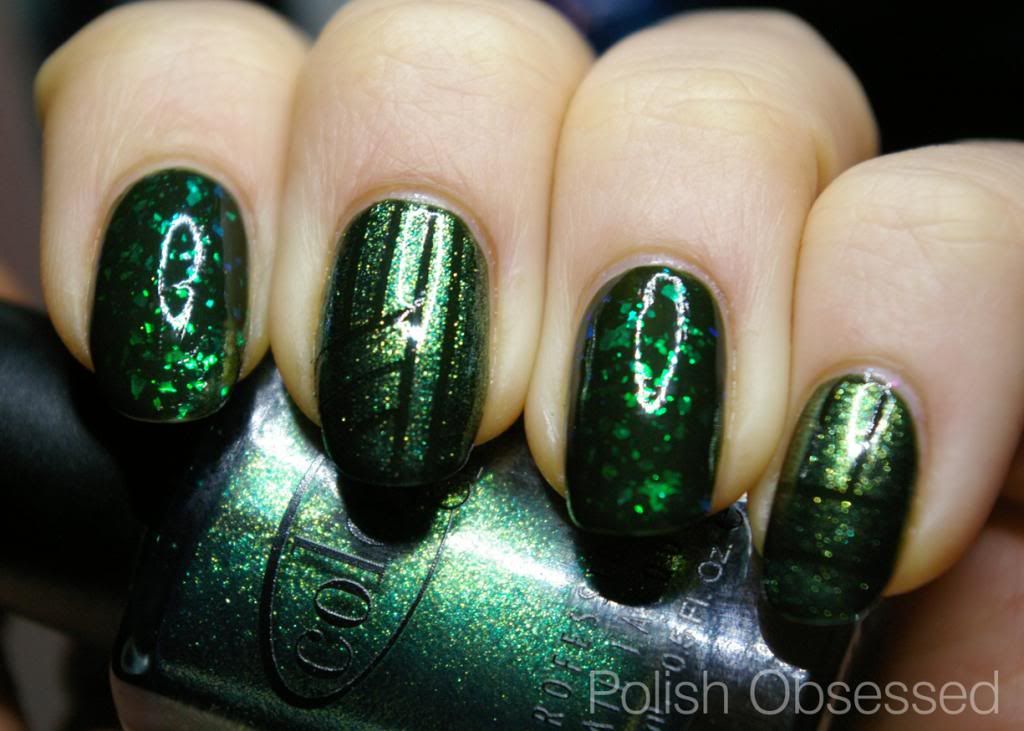
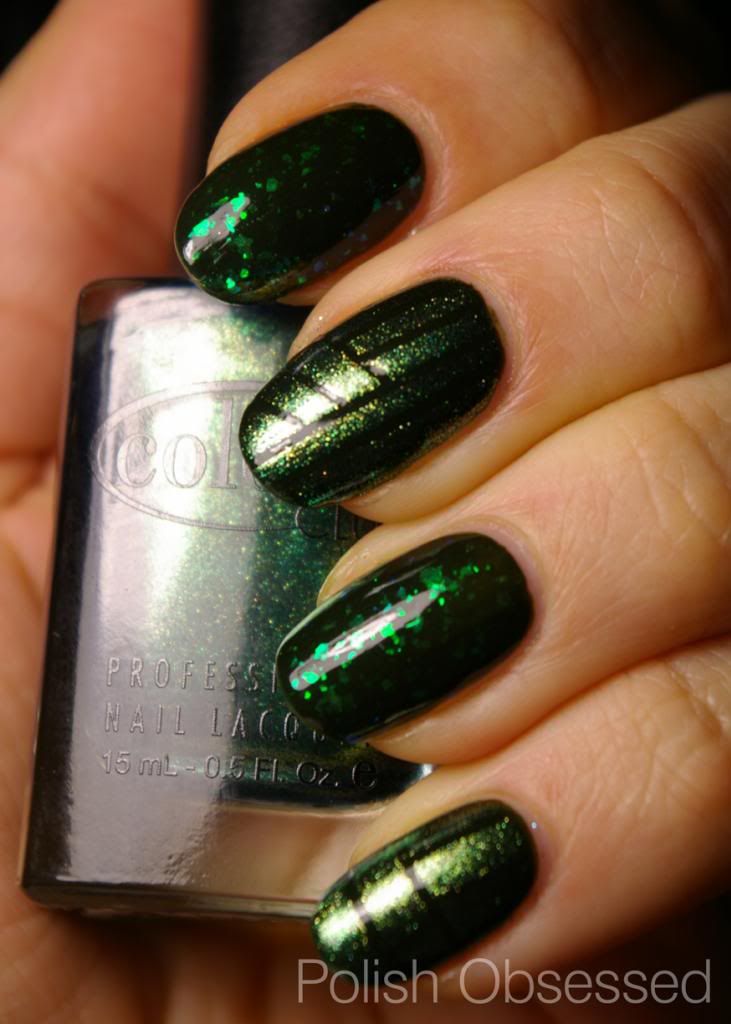
This is what happens when I have too much time on my hands, a mismatched mani due to indecisiveness! The other day I sat down to do my nails and was torn as to how I would be updating my previous mani of Zoya Envy. I have been seeing bloggers posting swatches of the new Finger Paints Flakies and it got me wanting to layer that on top. But, I also have been meaning to try out a tape mani since I purchased a bunch of striping tape last summer. These were the two options I was really stuck between among others of layering other polishes on top or stamping. Too many choices!

Soooo... I ended up trying out a tape mani... on a few fingers lol.

 photo IMGP8166_zps66865550.jpg

 photo IMGP8167_zpsdef32034.jpg

 photo IMGP8168_zps0f59851f.jpg

 photo IMGP8170_zps81756698.jpg
All above photos captured in natural lighting
Three tape designs on my right hand and two on my left to be exact. You have seen these before, basically you stick striping tape on the nail in various designs and patterns and paint over the nail with the tape stuck to the nail, when you remove it you have a cool design! I did a different design for each nail. I think they came out pretty good for my first time! I definitely will be doing this more often, especially with the amount of tape I have.

 photo IMGP8159_zps4f4a26e8.jpg

 photo IMGP8155_zpsf018f7c5.jpg

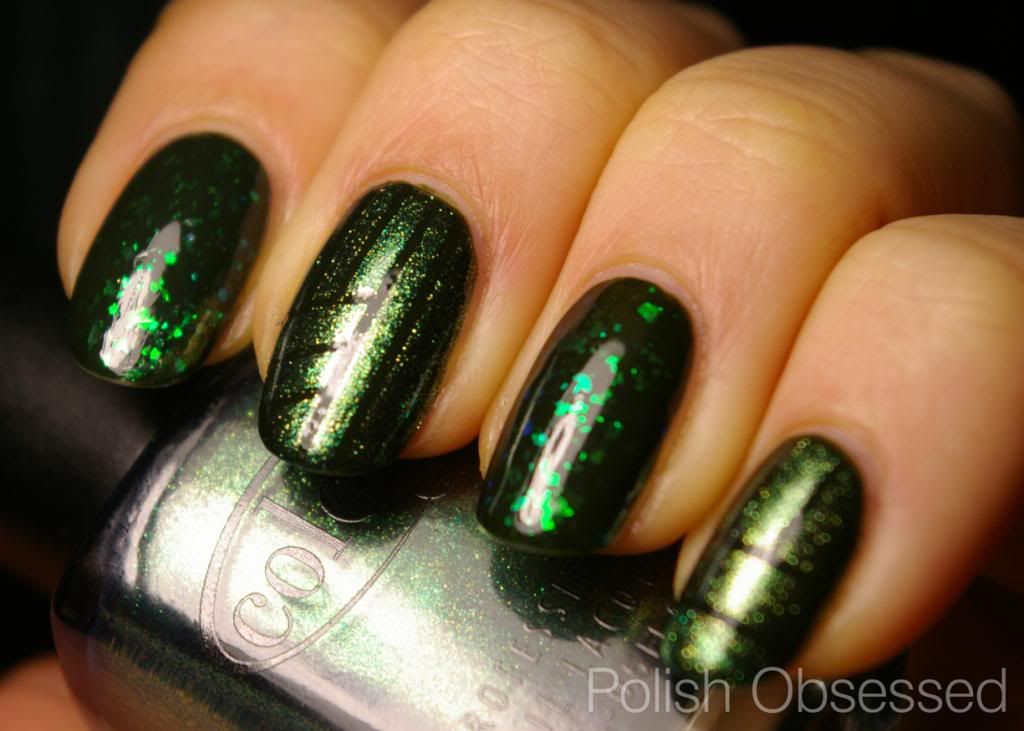
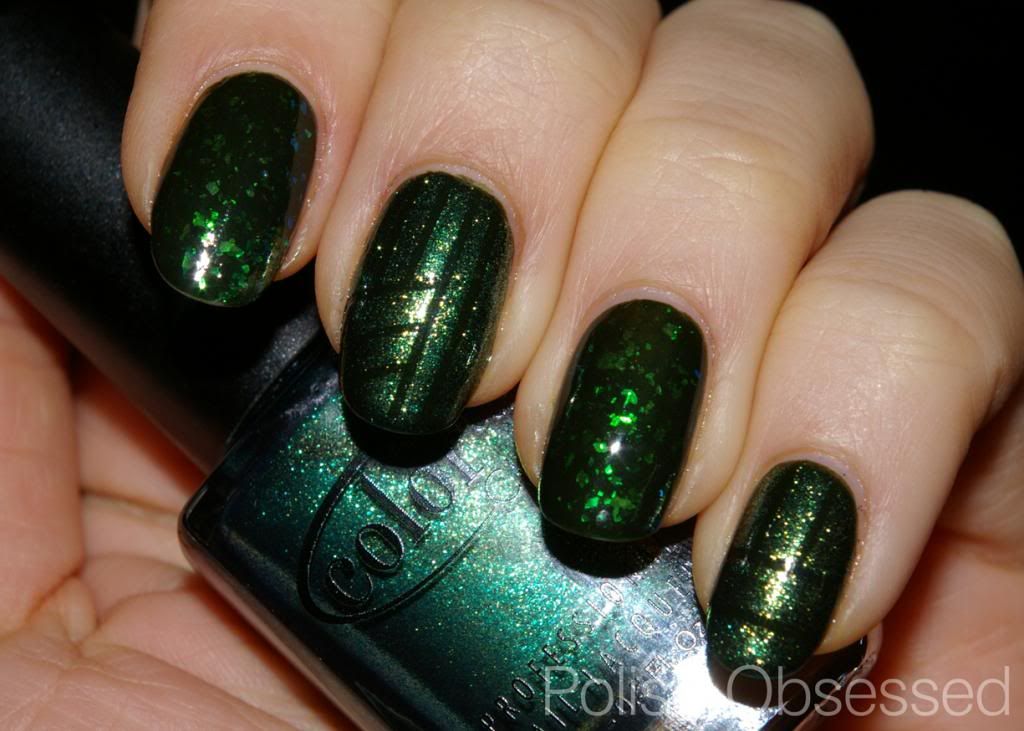
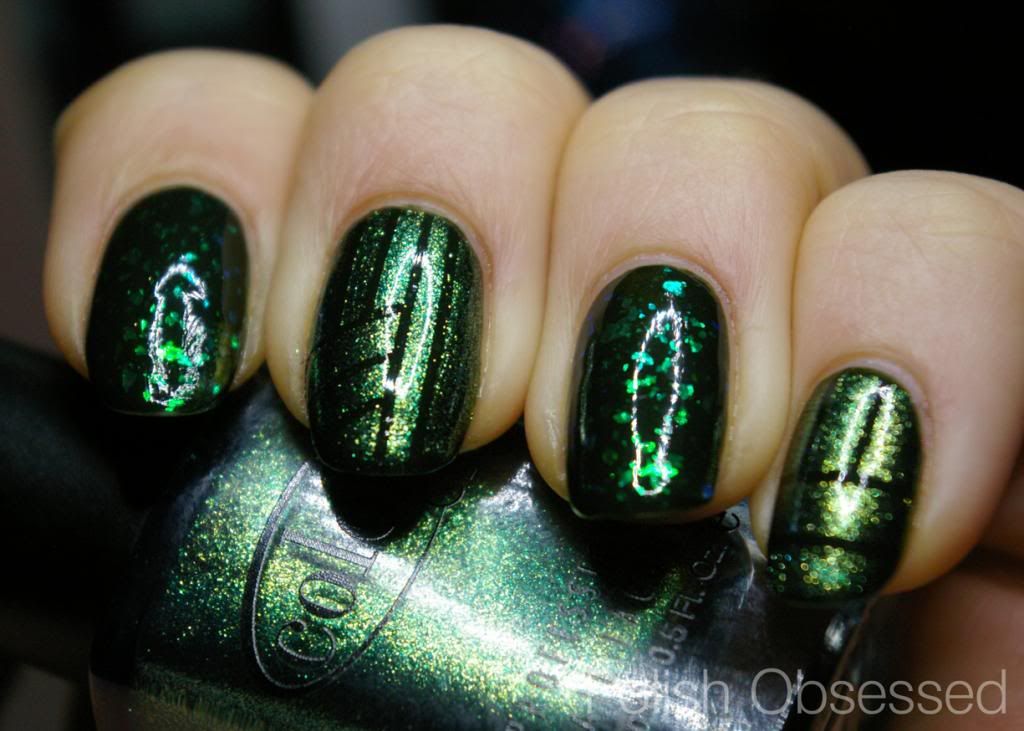
The polish I used on top of Envy for the stripe tape nails is Color Club Ho-Ho-Holly, one of the scented polishes from last years holiday collection. I picked this one up at Sally's on clearance for a dollar or something last year after Christmas. Such a beautiful shade! It is a golden green that flashes a slight duochrome of gold and teal/blue from the right angle. It has a slight evergreen scent that is not overbearing at all. I can only really smell it when I have my hands up to my nose.

 photo IMGP8153_zps9b38b3f2.jpg


 photo IMGP8152_zps5614d9f3.jpg

For the other nails, two on my right and three on my left, I applied a generous coat of Finger Paints Flecked, a densely packed green flakie in a clear base. The green flakies flash between different shades of green and blue, so pretty! They go great with the deep green base of Envy

 photo IMGP8163_zps8b1c75e9.jpg

 photo IMGP8165_zpsa221badf.jpg

It was so hard to get decent photos of this mismatched mani, it is one of those that looks better in person, too much going on for the camera to capture it correctly. The first grouping of images at the tom were the most accurate to real life.

Monday, January 27, 2014

Envious

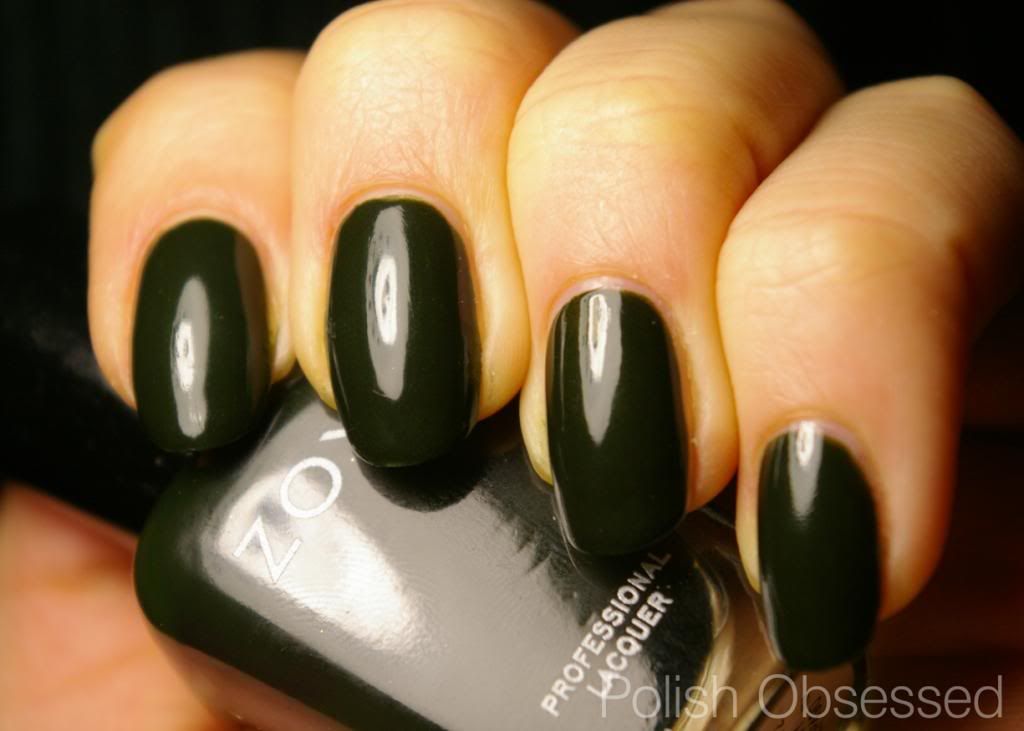
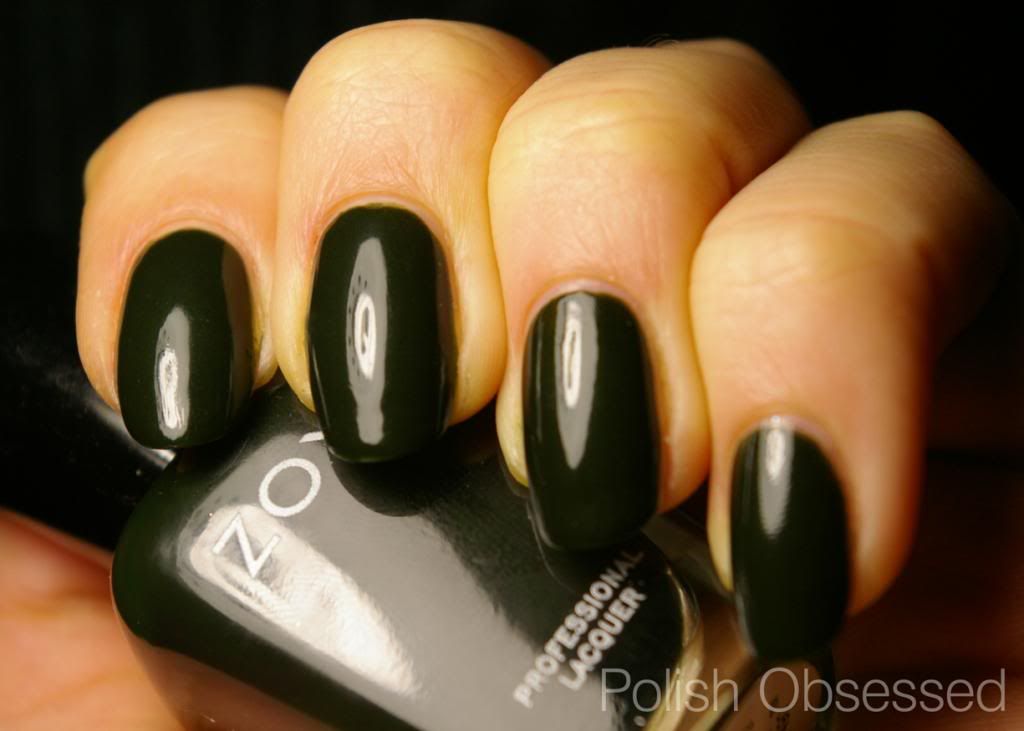
I have been all over the place with polish choices lately. Through most of December and early January I was all about glitter! I actually would be wearing glitter all the time if it wasn't such a pain to remove.  I think I have been wearing more due to the fact that it has been wearing very poor on me lately and I switch it earlier (to another glitter, lol) than I would any other polish. I have moved on to some neutral, glitter-pallet cleansing cremes, and today I have another, Zoya Envy.

 photo IMGP8087_zps1a69e500.jpg

 photo IMGP8088_zps31b44be6.jpg

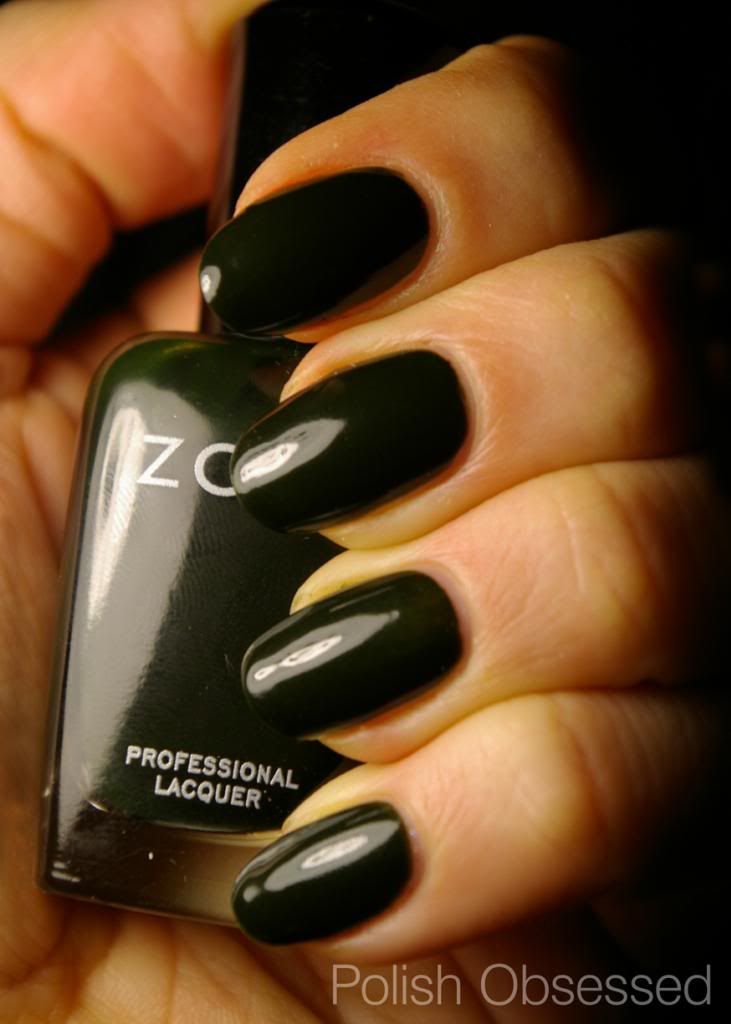
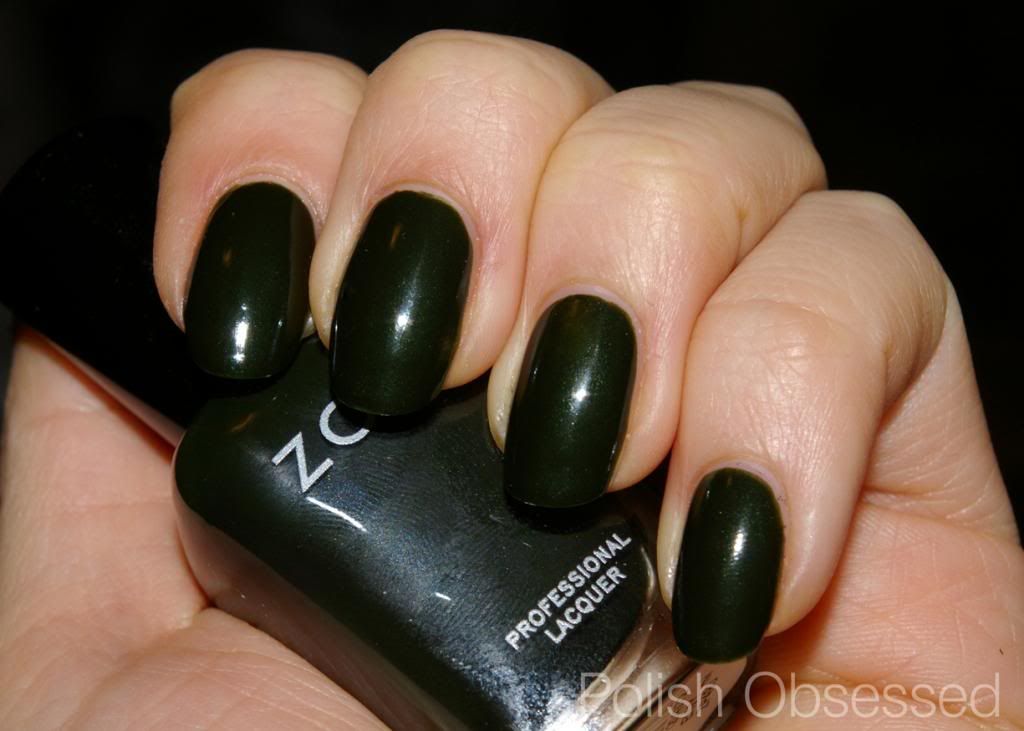
In the bottle Envy is a gorgeous deep moss green. When applied to the nail the first coat is thin, which is to be expected, but the texture of the polish is not what I would have expected. It must have something to do with the deep pigmentation of the polish, but it appears to be grainy, almost as if it needs to be shaken to recombine the pigmentation to the base. I don't think this is the actual case, but it is the only way I can think of describing it. This does not effect application or the final look of the polish at all, it is only visible on the first coat. The second coat evens out everything to a nice, smooth shine. The final colour is a deep dark moss green. In low light is may appear black, however the green in the polish makes it look softer and not so stark as a straight up black. As in most cases with Zoya polish, it applied perfectly!

 photo IMGP8094_zpsee6976ba.jpg

 photo IMGP8096_zpsa9c34938.jpg

I really love this shade. I have a soft spot for dark/black-like polishes, it used to be all I wore in high school. Darker shades like this are great to be worn on their own or as a base for a glitter/flakie topper, nail art and stamping... which is what I intend on doing after wearing this beauty for a few days.

Friday, January 24, 2014

Crushed Gems!

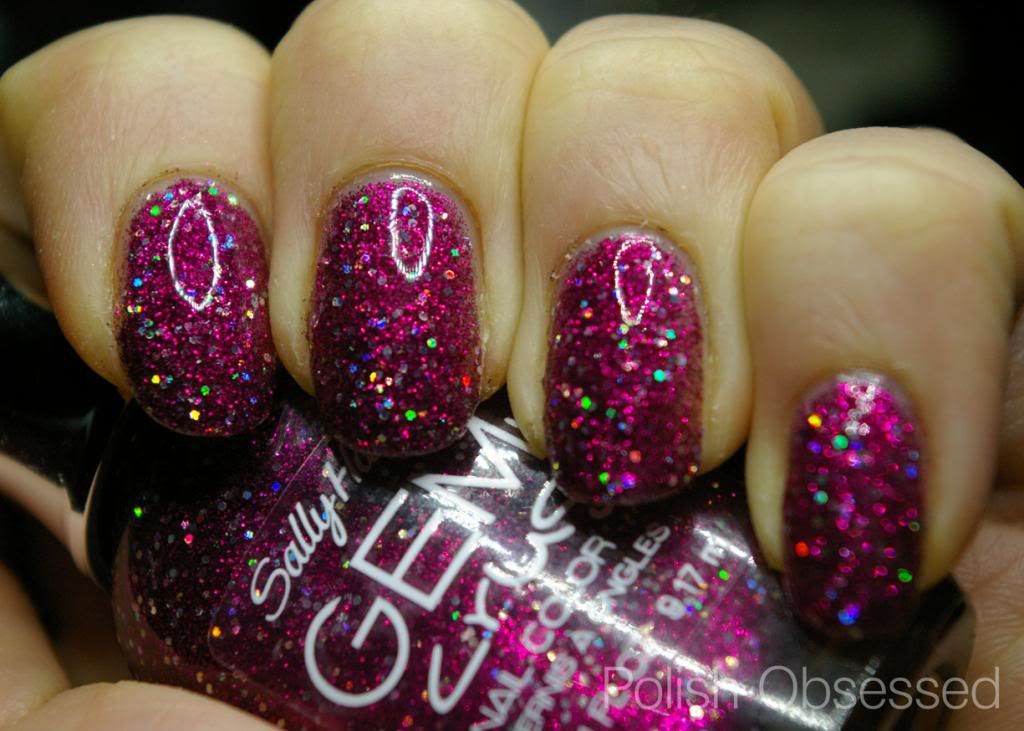
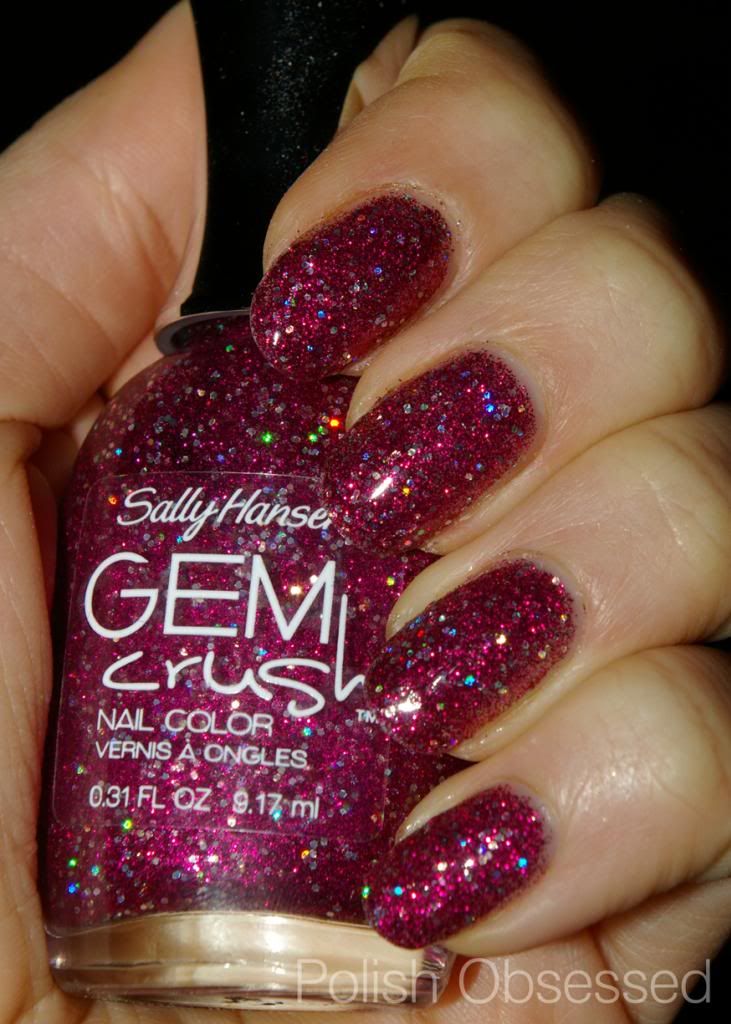
Does anyone else get excited after a haul and want to wear at least one polish right away!! Because I do it all the time, especially after the mini haul I had at Target last week. After much debate I chose to wear Lady Luck, which surprised me. Usually I don't wear this shade of magenta/pink but something about it made me need it and really want to wear it so I have it a go.

 photo IMGP8076_zps501d4857.jpg

 photo IMGP8072_zpse574a716.jpg

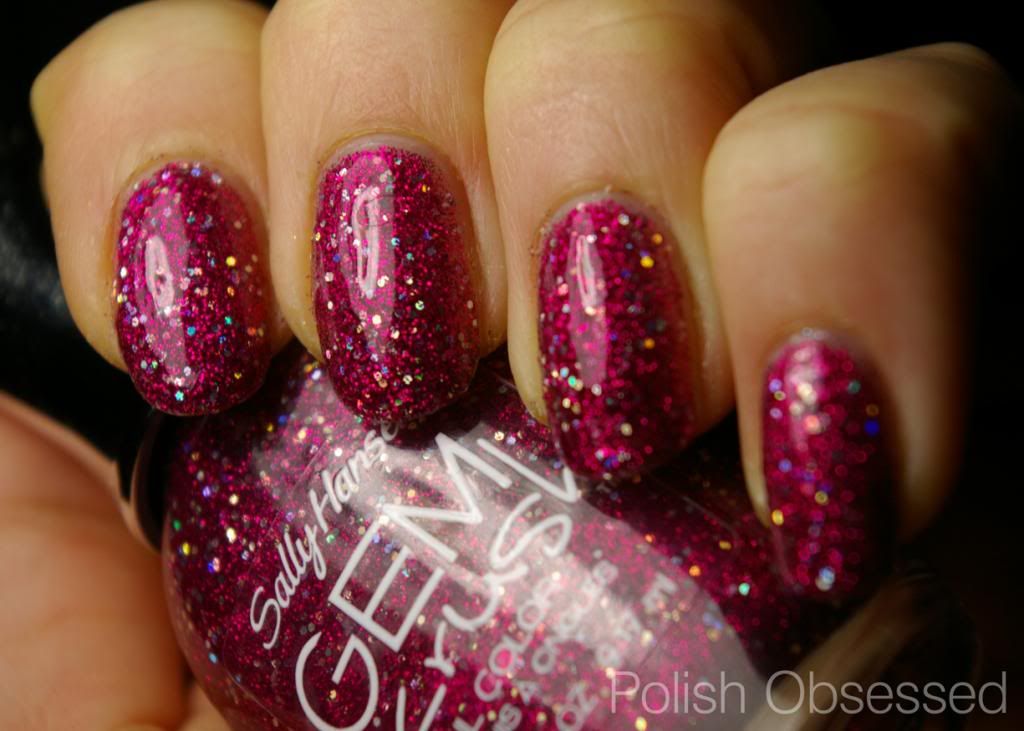
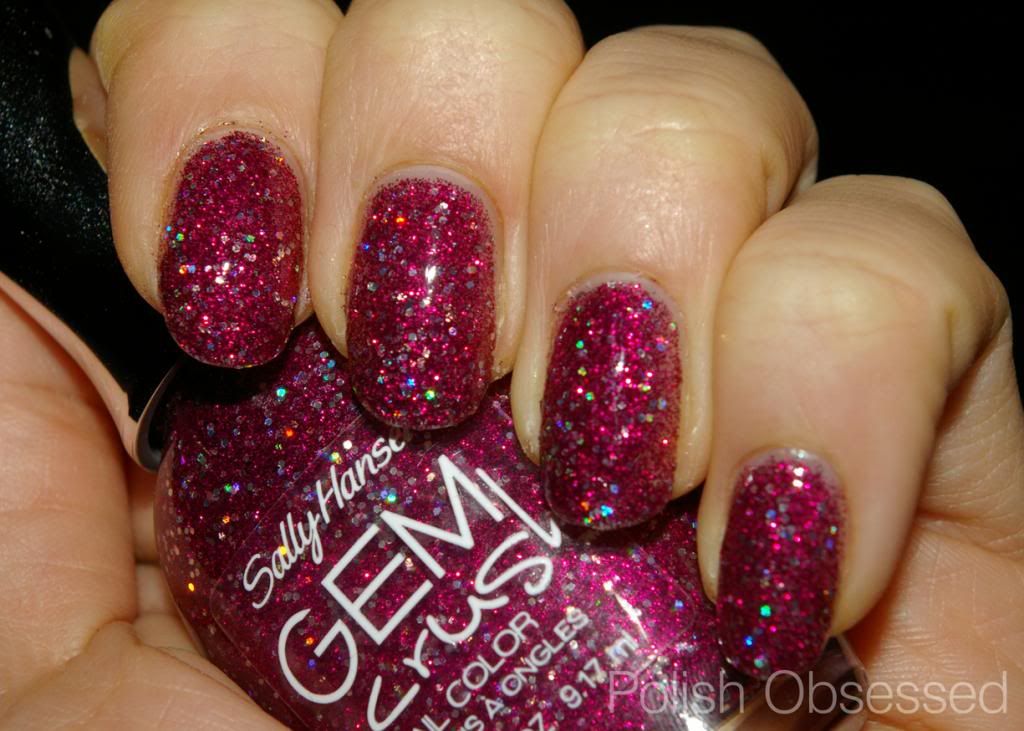
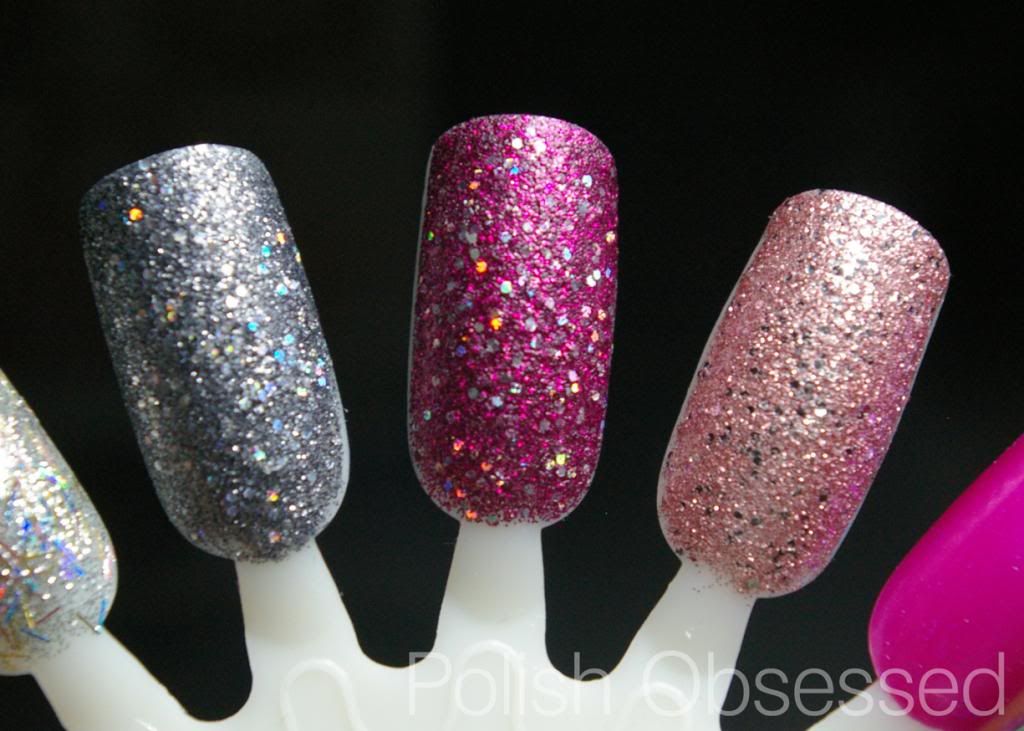
Lady Luck is a hot magenta glitter made up of micro glitter and medium holo hex glitter sprinkled throughout. I applied two medium to thick coats and was happy with opacity. When I first swatched this polish I noticed it dried to a gritty matte finish, and I wanted this to be super glossy!

 photo IMGP8068_zpse9a7f331.jpg

After the glitter dried a bit, which wasn't long at all, I applied a generous coat of Gelious to each nail. After a few minutes of dry time I preceded to add a thin coat of Seche Vite on top to ensure the finish was super glossy and dried quickly.

 photo IMGP8073_zps69624965.jpg

This polish is pretty, but something about it was off to me. Maybe it's the shape if my nails. Maybe I should have layered a similar polish as a base underneath. Maybe I just don't wear this polish often lol.

Thursday, January 23, 2014

Target Polish Clearance!

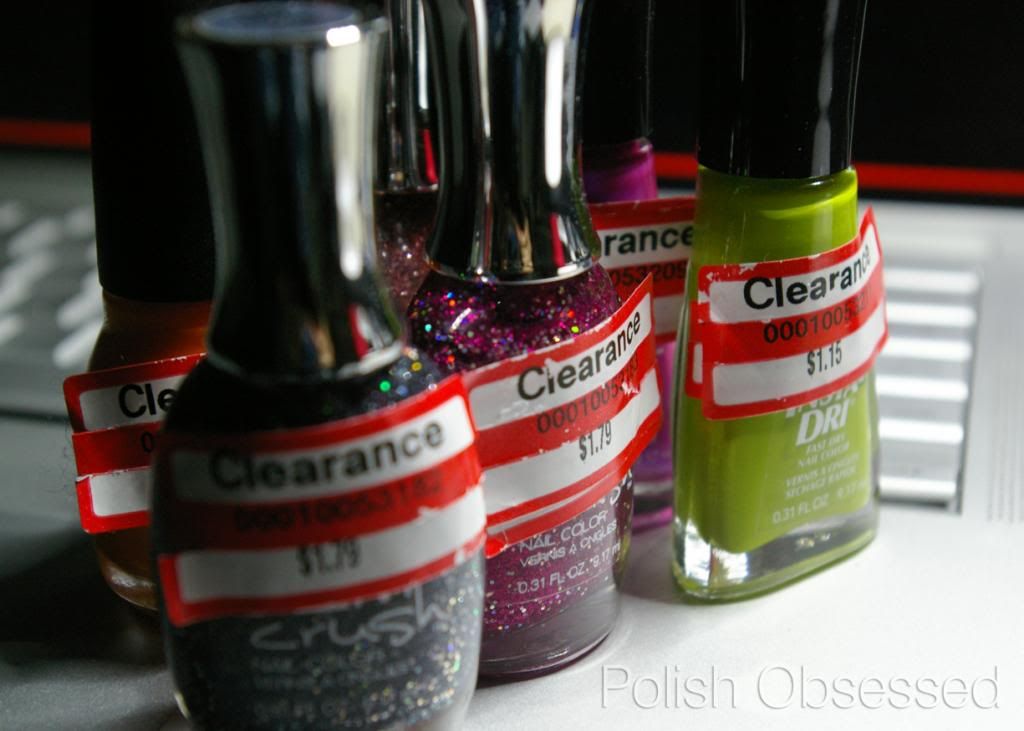
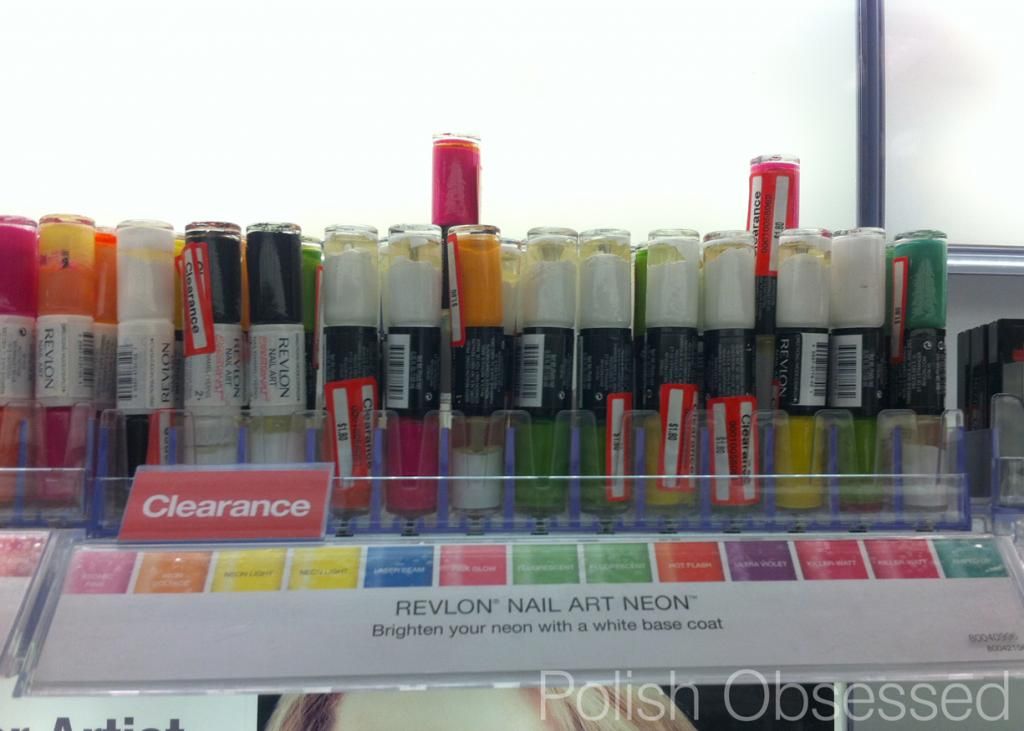
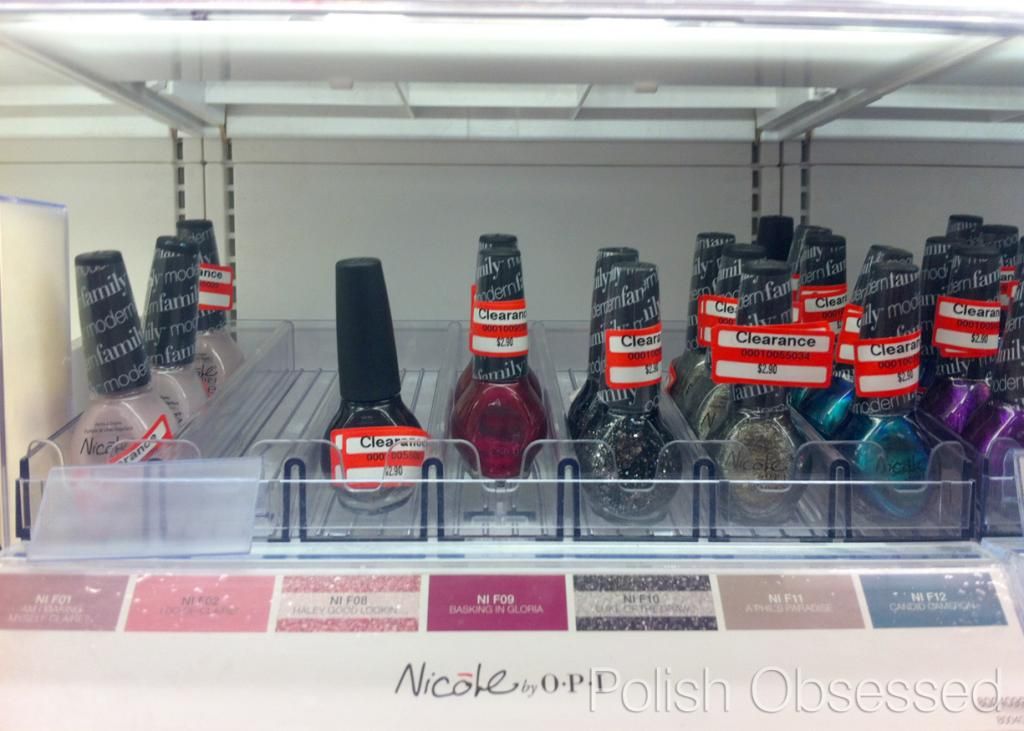
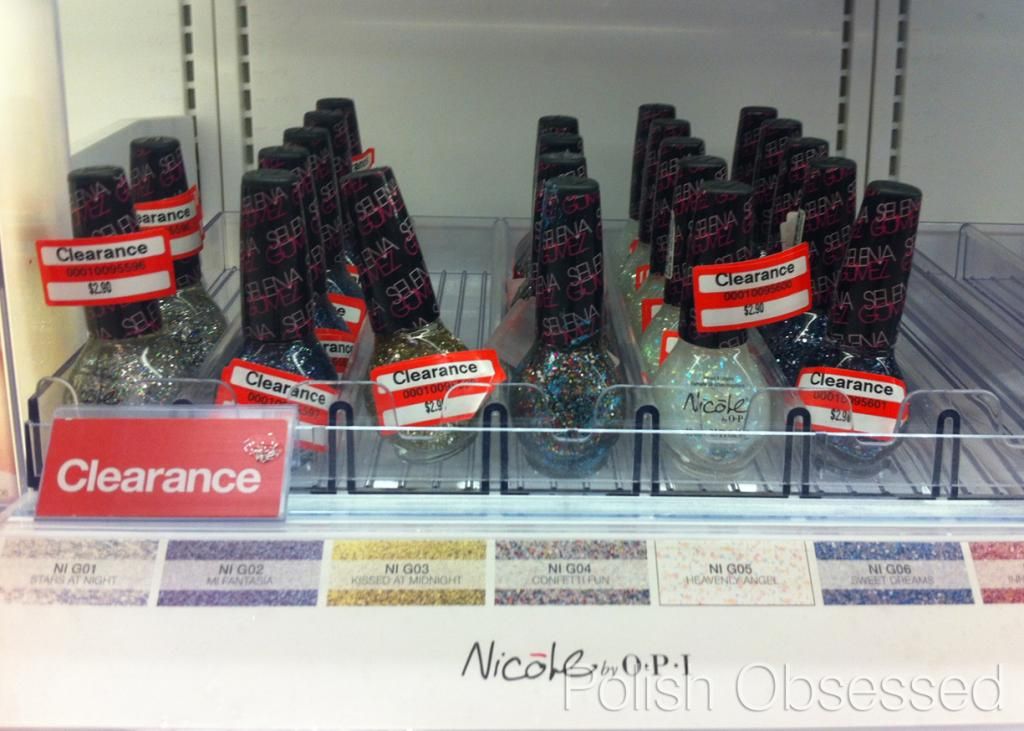
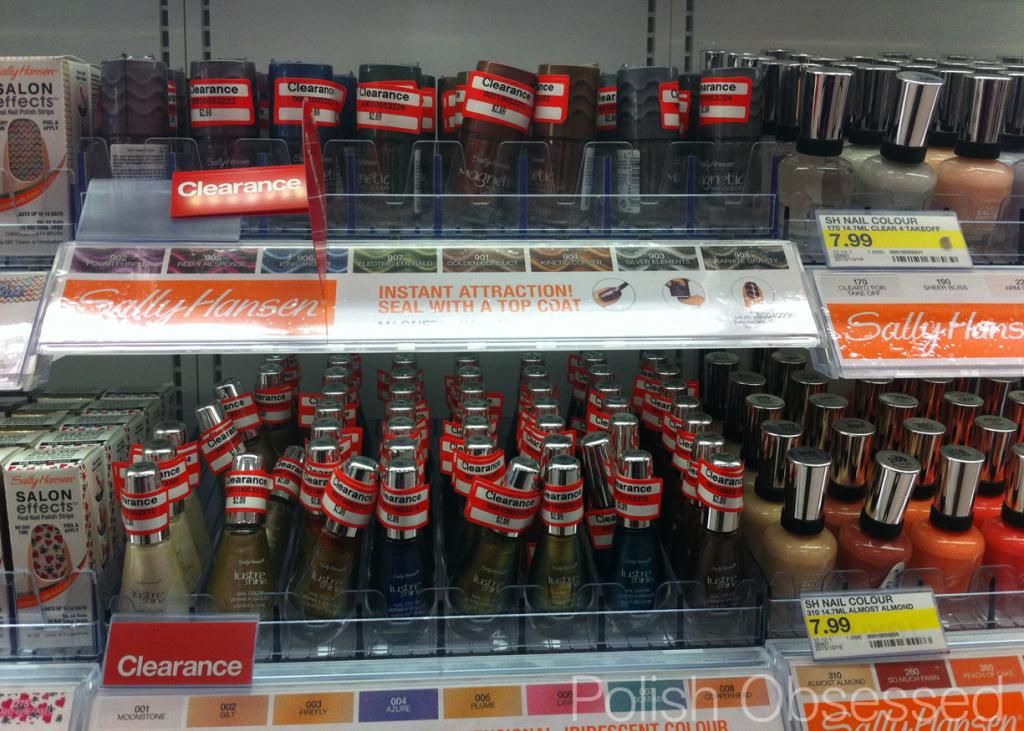
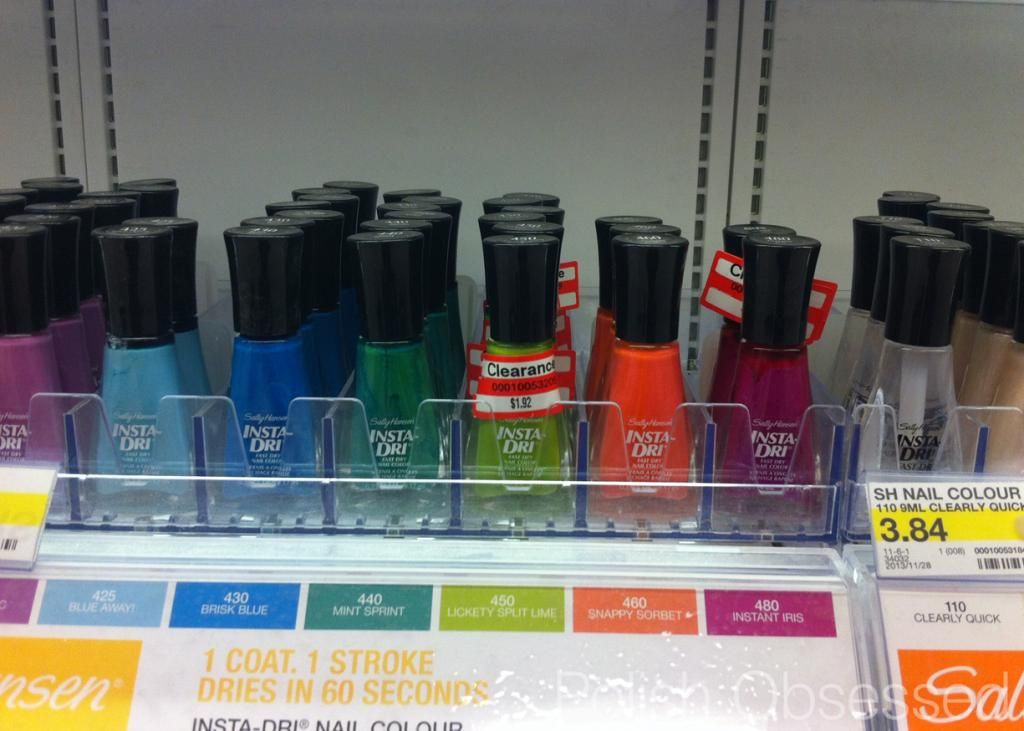
You MUST check out Target if you are a polish fanatic like me! Unfortunately I don't live close to a Target, and I was actually visiting last week for a return from December. I decided to have a quick look around the store and noticed clearance bins with discounted cosmetics, most being polish!

 photo IMGP8099_zps7abeeeb7.jpg

The brands I spied included various Sally Hansen collections, Nicole by OPI, Sinful Colors, and Kiss. I saw a sales lady passing by and asked if there were any additional items on clearance, she said that what I was looking through was the overstock! All the other sale items have been marked in their original display sections! What I ended up finding was almost every brand of polish was reduced to some degree, from $3.00 to 69 cents! .

 photo image5_zpsfe6314b1.jpeg

 photo image4_zpsd42ea2e4.jpeg

 photo image3_zpsa473feaa.jpeg

 photo image2_zps8fedb639.jpeg

 photo image1_zps16c6668d.jpeg

 photo image_zps5eb20f88.jpeg

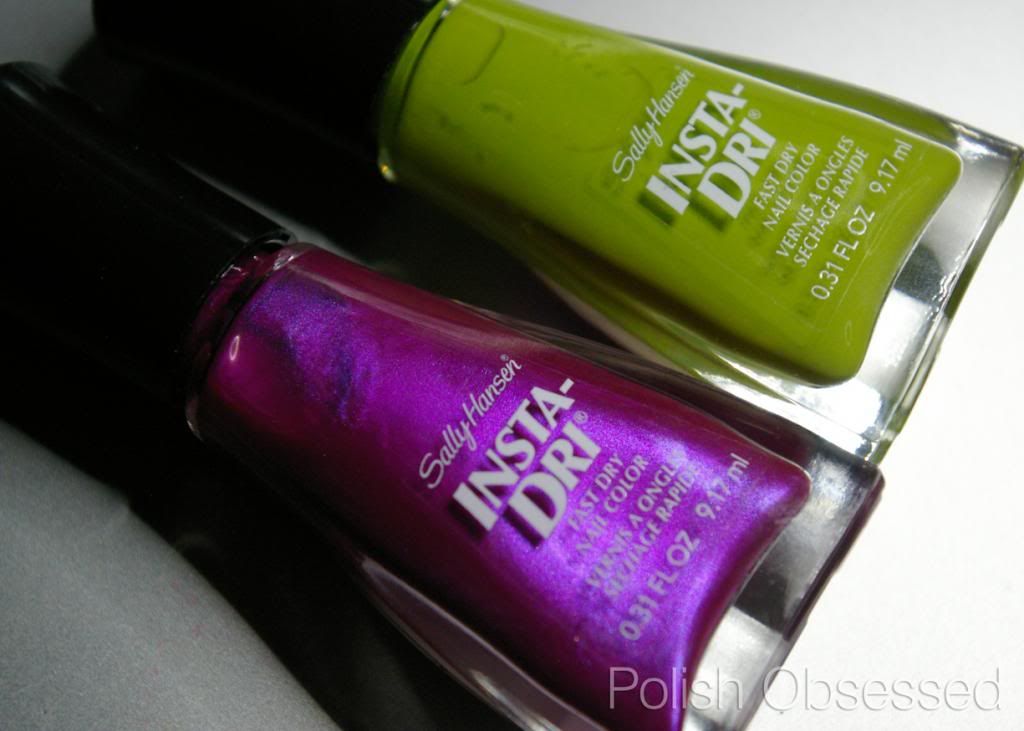
Have a look at what I picked up! From Sally Hansen's Insta-Dri line, Lickety-Split Lime ad Instant Iris. I pick these up for stamping for a steal of $1.15 each.

 photo IMGP8105_zps6b3f8b80.jpg

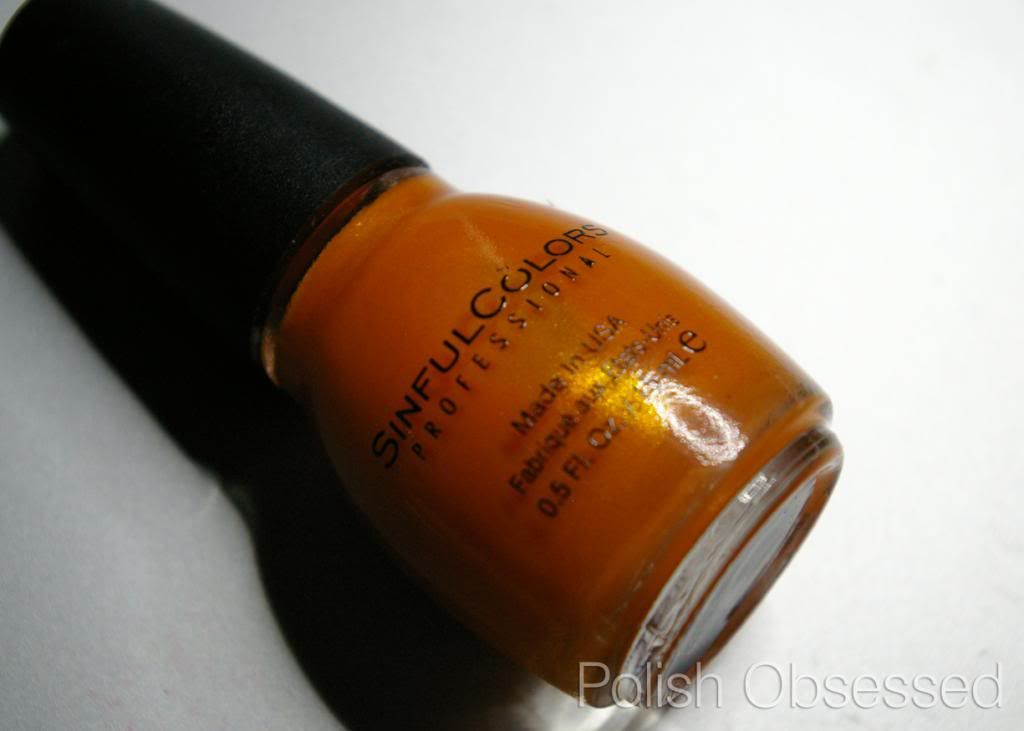
I could not resist at least one Sinful Color at 69 cents! I chose Cloud 9, a bright yellow based orange with golden shimmer.

 photo IMGP8106_zps0322a58d.jpg

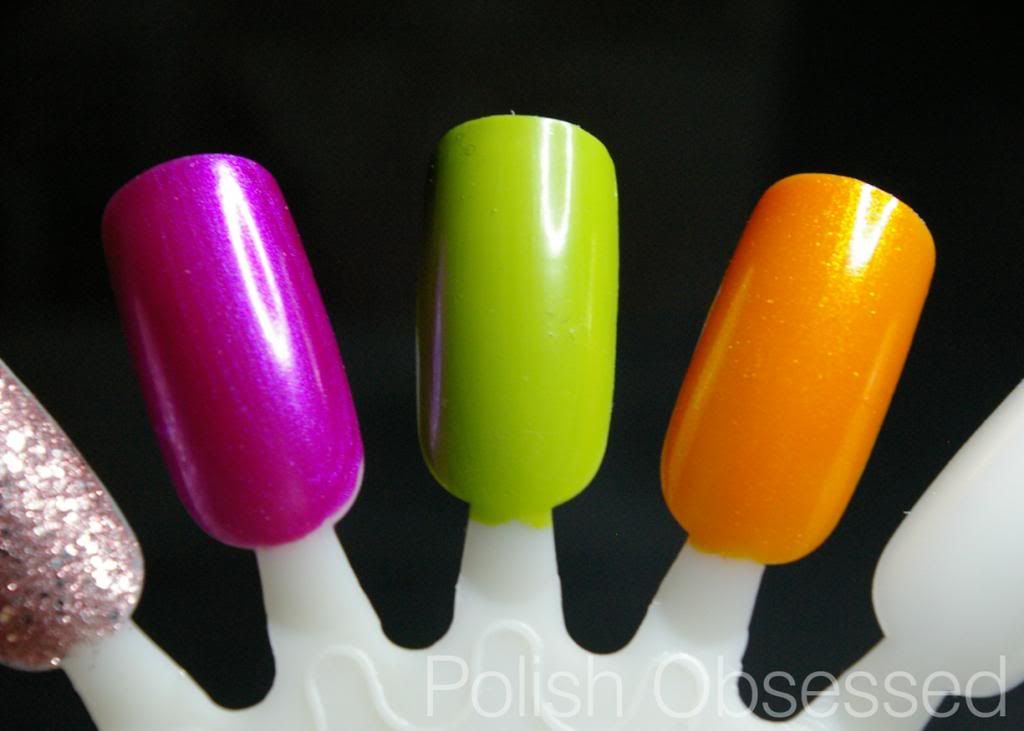
Swatches of the three polishes above below, one coat each of the Insta-Dri's and two coats of Cloud 9.

 photo IMGP8117_zpse33c2873.jpg

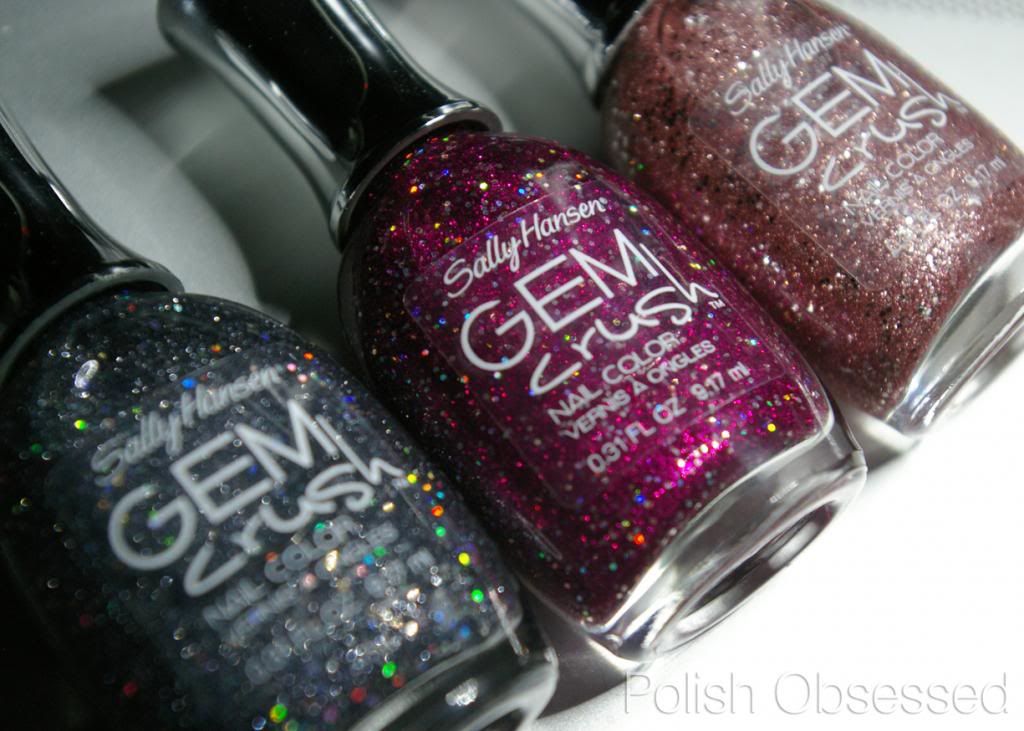
Next I picked up some glitter bombs from Sally Hansen's Gem Crush line, Glitz Gal, Lady Luck and Razzle Dazzle. These were under $2 each. 

 photo IMGP8108_zps3b2fa050.jpg

My swatches below are two coats each.

 photo IMGP8115_zpse7250a9a.jpg

I pick and chose wisely this time, I didn't want to go too crazy! I wish there were more Insta-Dris on clearance, I love them as a base for nail art and stamping.

So as  you can see I am still blogging directly from my desk today, photos and all! Here is a look (from inside) to part of my back yard where I usually take my photos. Don't let the sun fool you, it is VERY cold out this week! What is your preference for photos, indoors or outdoors?

 photo IMGP8129_zps7c121206.jpg

Have you been to target lately? What polish was reduced at your store? If you are in the States I'd love to hear about selection and pricing, I will be heading there on Sunday :) First crossboarder shopping trip of the year!