Showing posts with label gradient. Show all posts

Friday, June 12, 2015

Stassi's Muse

Happy Friday! Today I have a fun mani refresh of Zoya Stassi with another Zoya from the same collection, Muse. I purchased Muse last summer and I don't know why I didn't pull it out sooner! It has the same iridescent glitter and gold shimmer as Stassi with with a deep, blue base which really helps to reflect all that beautiful glitter!

I was inspired by the photo below from annagorelova.com which I found through Pinterest. To see my other nail related pins, click here.


Originally I was thinking of sponging on the gradient as I had done in the past but realized quickly with a sheer base and thirsty sponge I was getting little to none of the base on the nail. I kind of figured this would happen but wanted to try first. 


In my next attempt I applied a thin layer of Muse about the half point of my nail and upwards toward the tip, trying to blend as much with Stassi as possible. I continued this with three more layers starting closer to the top of the nail with each layer.


In the end I wish it came out slightly more feathered or graduated but I am super happy with this look! Very bright and dramatic for a gradient!

Wednesday, August 6, 2014

Nuclear Sunrise

I need to find me some more Fresh Paint polishes! I just recently discovered them in late June and I am so impressed. Not only do they have some awesome colours, but the wear is fantastic. I can only comment on the two neon cremes I have purchased, Guava and Honeydew, but if you know neons, you know they chip FAST, and Guava and Honeydew lasted

I wore Honeydew for almost a full week with no chips and only slight tip wear, that is fantastic for a neon. Honeydew is a pastel mint neon creme. Although the first coat was a bit streaky, the second coat evened everything out nicely so I didn't require a third. It dried to a slight shine but as always I added a coat of Seche Vite.

Unfortunately.... I have misplaced my photos for this mani, so sad! I  do have photos of it with a refresh I did. To update this mani I used China Glaze Shore Enough, Bundle Monster Plate 402 and a cosmetic sponge.

I started by stamping Shore Enough on the tips of my nails and blending downward in to Honeydew. On the second coat I added Honeydew to the sponge with Shore enough to blend the colours further.


Once that had dried, I stamped with the centre top full image pattern on Bundle Monster plate BM-204. On the plate the design looks abstract and asymetrical. I'm not sure what drew me to it initially but once stamped in black over the gradient it looked like an abstract sunset. The bold lines representing the rays from the sun, the circle. The green base makes the whole idea even more abstract!


Plate BM 402 is apart of the Create Your Own collection and it stamped perfectly with no issues. One tip I would give should you use this design or any similar (with bold lines), try to scrape in the general direction of the lines to avoid any weird bald spots in the design once on the stamper.


My only regret is not lining up the "rays" perfectly with each nail, other than than I am happy with the final look.

Monday, July 21, 2014

Glittery Gradient

I decided to apply a slight gradient to a base of bright pink nails, China Glaze Pedal to the Metal. For the sponge gradient I used China Glaze Flip Flop Fantasy, probably my favourite China Glaze polish! To create the polish on the nail I applied Flip Flop Fantasy to a make-up sponge with pedal to the medal directly below it. I gently dabbed the sponge a few times on the nail (already with a base of Medal to the Medal) to create the gradual fade from one colour to the other.


I continued this process on each nail between one to two times to get the desired look. I then sponged some fine gold holographic glitter on the tips of my nails as well, China Glaze Golden Enchantment. I added a thin top coat over top everything to smooth out the gradient and add a nice gloss.


Thursday, October 17, 2013

Enchanted Forest on All Howls Eve - My Bundle Monster Cirque Du Freak Contest Submission!

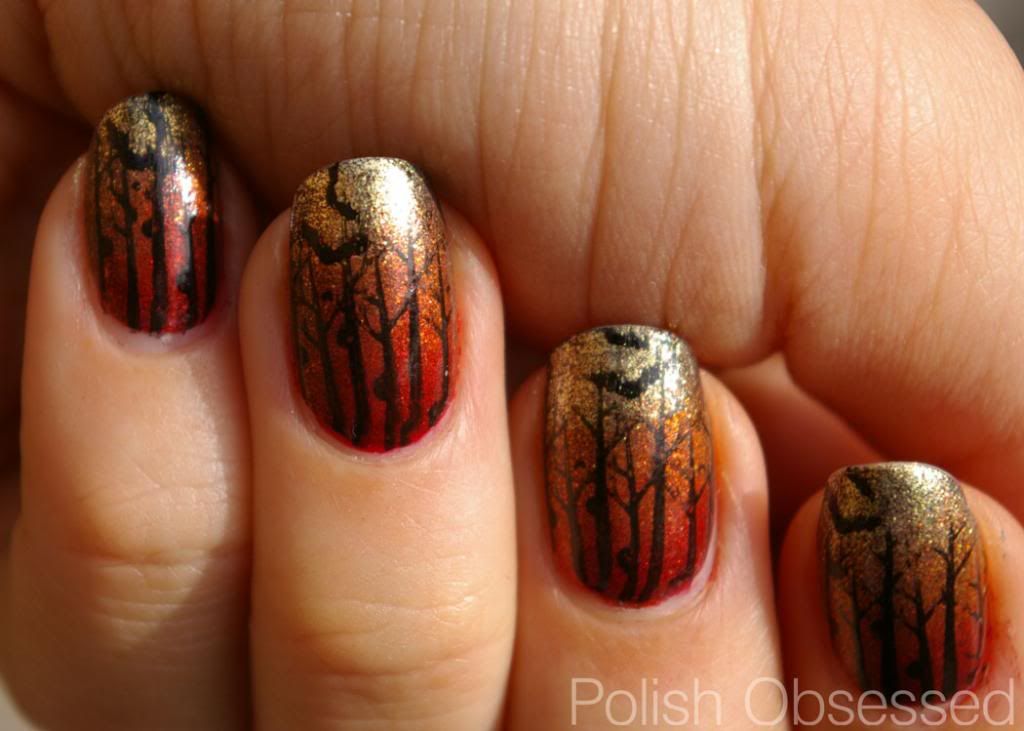
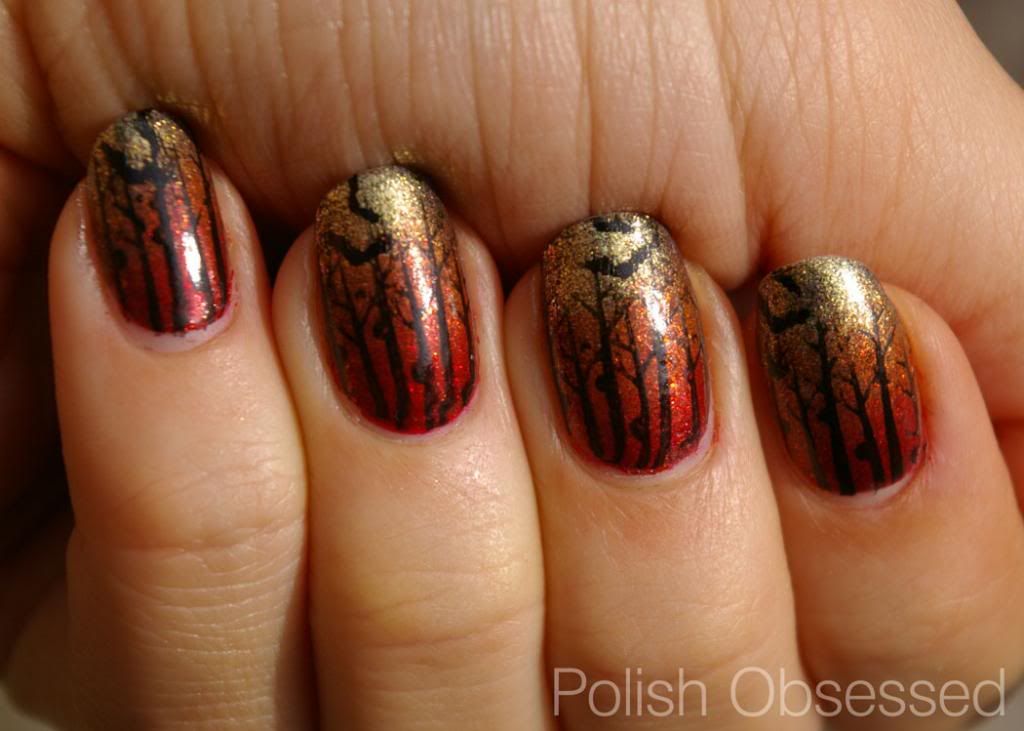
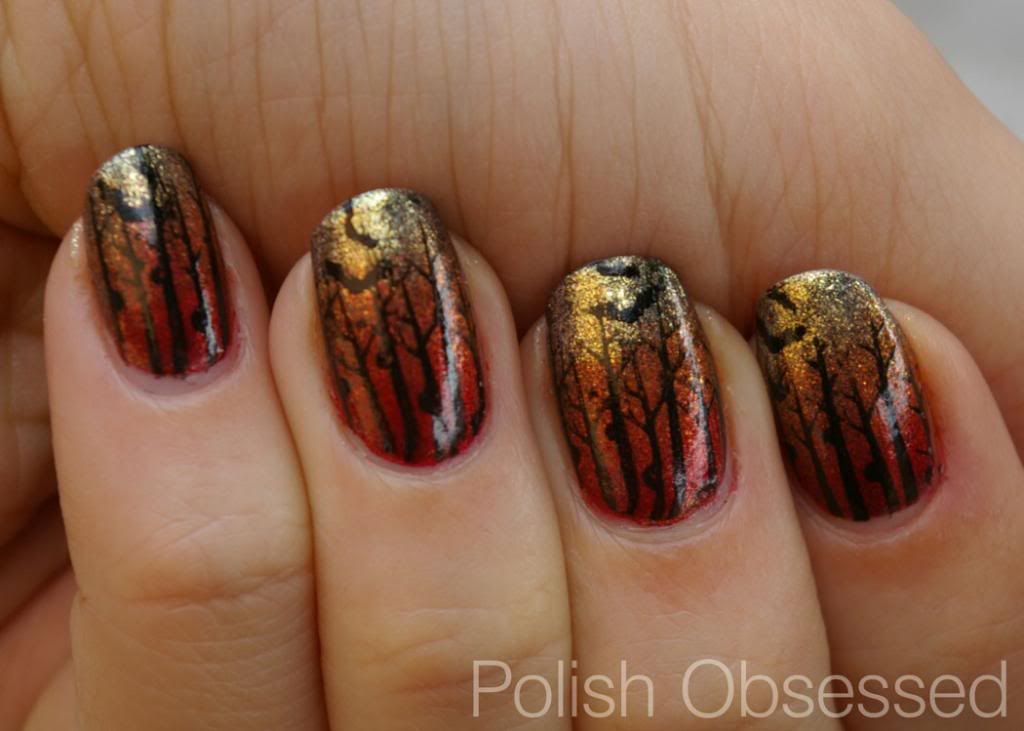
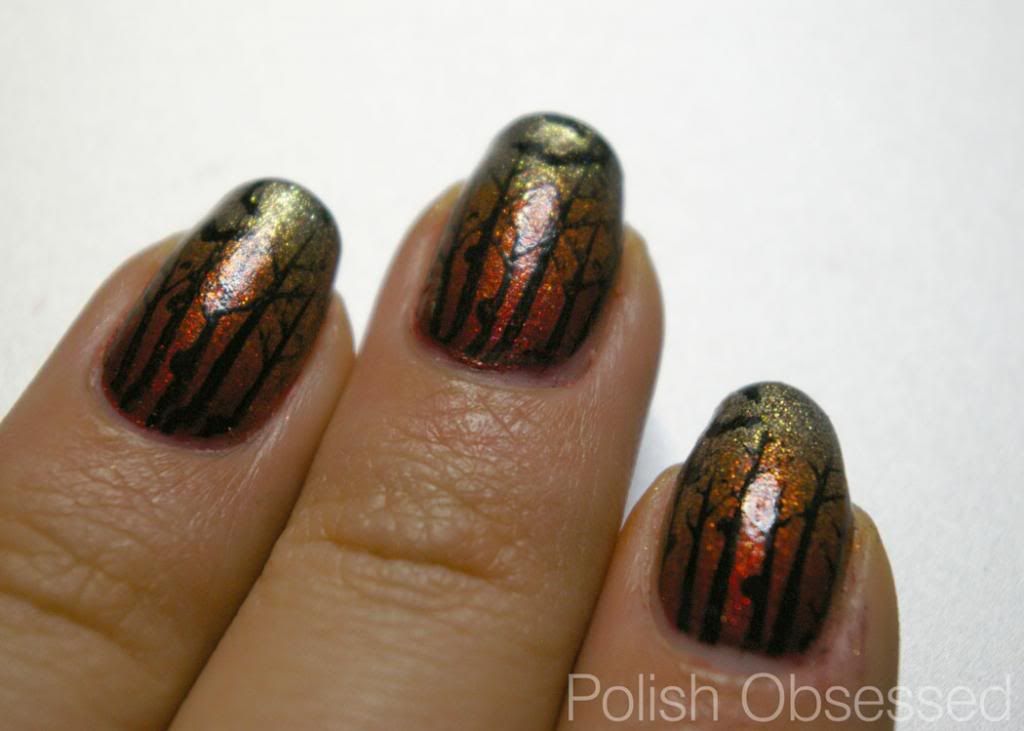
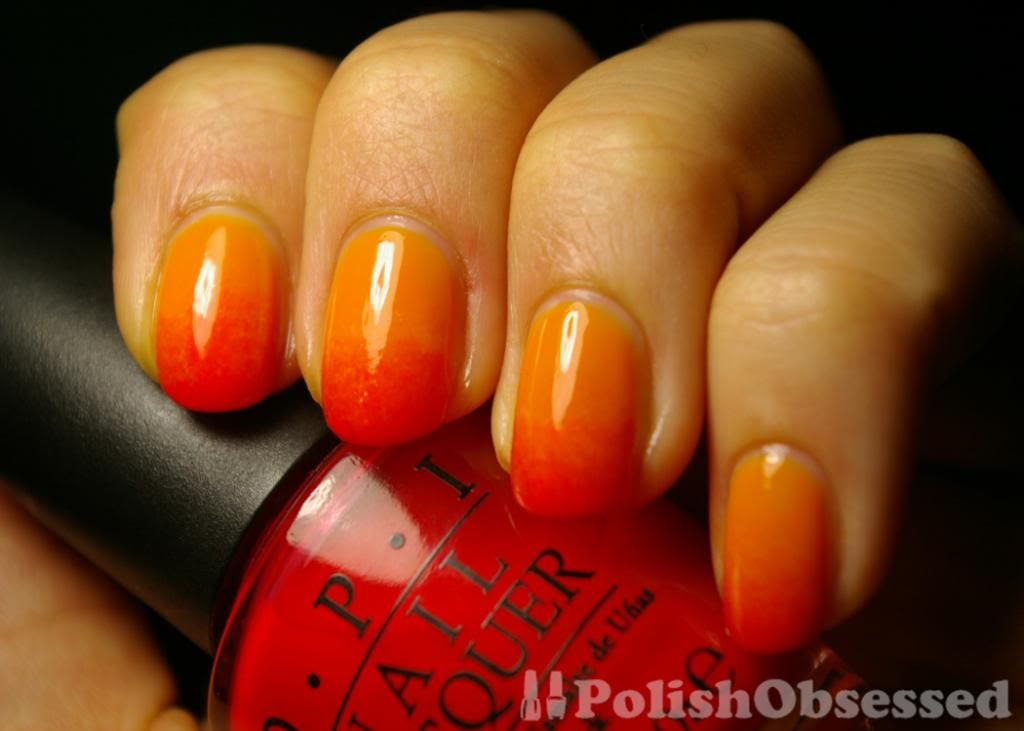
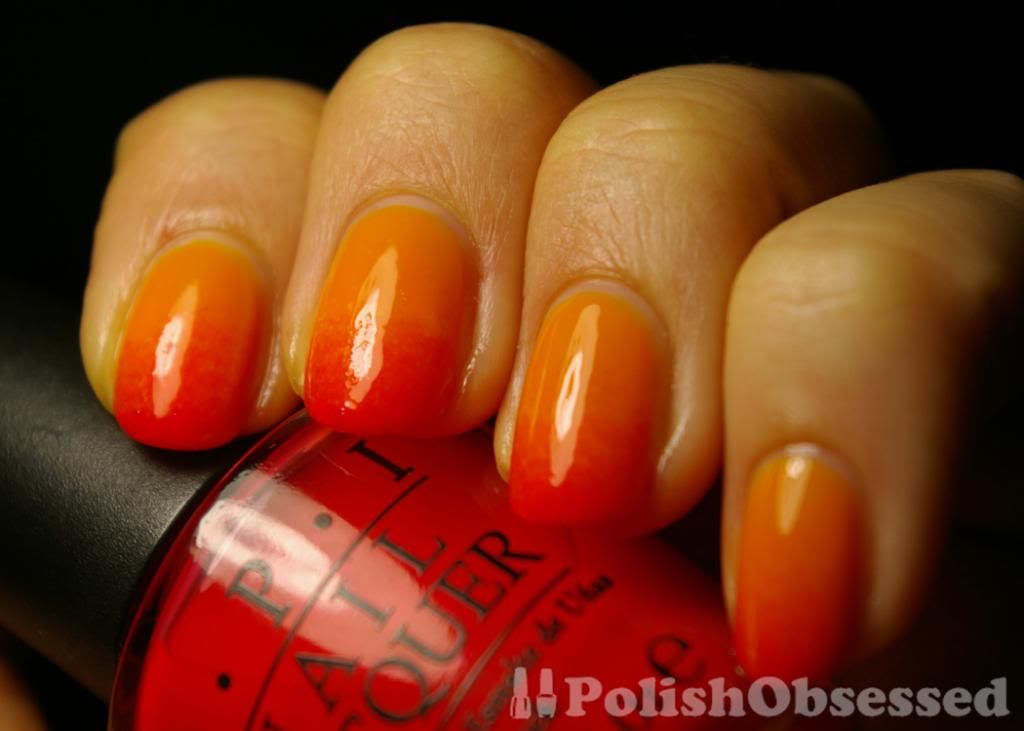
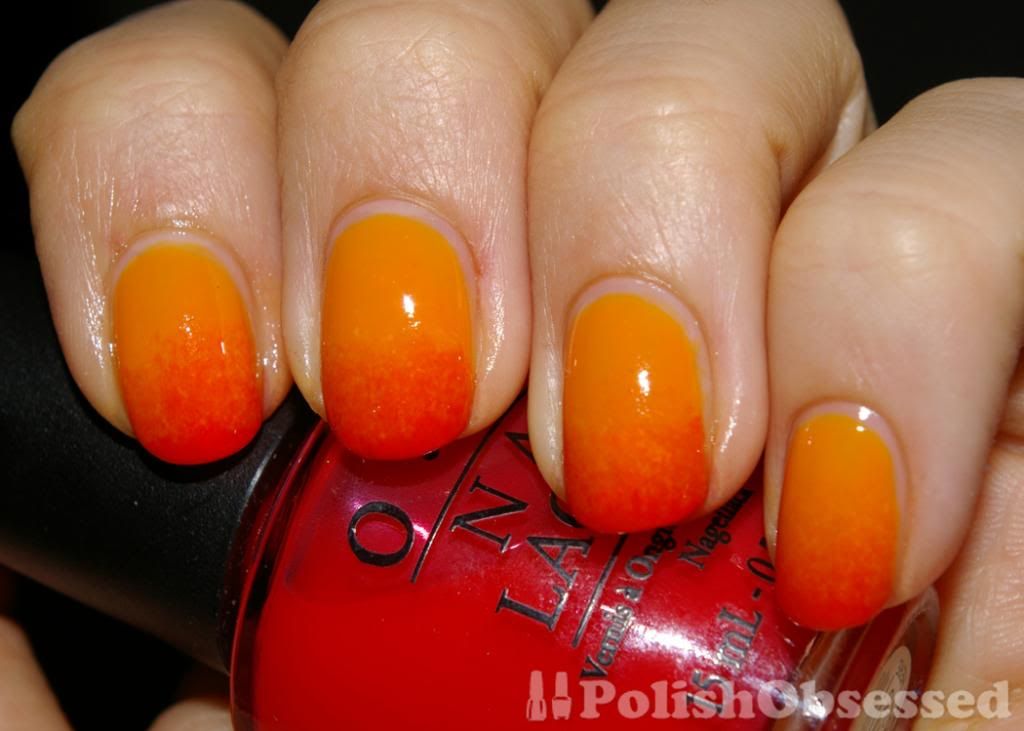
I entered a Halloween nail design this week in to Bundle Monsters latest contest, Cirque du Freak. The theme for my nail art is enchanted forest on Halloween night. I used OPI My Private Jet  from my last post as the base for this design. I sponged a gradient of red, orange and yellow shimmer, the polishes I used are:

Red - Sally Hansen Xtreme Wear, Poppy
Orange - Nicole by OPI, Fresh Squeezed
Yellow - China Glaze, White Cap  

 photo IMGP7301_zps0ee863ab.jpg

 photo IMGP7302_zpsc1f1638d.jpg

I applied two coats of the gradient and waited for it to fully dry before moving on to the stamping. I used Sally Hansen 10 Day No Chip in Blackberry to stamp Bundle Monster plate BM-407 for the enchanted forest trees and BM-213 for the bats in the sky. I sealed the design with a thin coat of topcoat and I was done!

 photo IMGP7306_zps813d8243.jpg

I was kind of scrambling to get these up in time to submit to the contest, I got lost in the days since Monday I was off work for Thanksgiving here in Canada. I didn't get the greatest photo up in time for the submission, but was able to capture some slightly better photos for this post. It really does look a lot more vibrant in person though, the gradient looks so cool! This look was definitely a challenge to photograph.


 photo IMGP7297_zps05acda79.jpg

If you like my design I'd love it if you'd support me by voting for my design. There are a lot of other fun designs so have a look and vote for your favourites! You can vote once a day until October 28th for your faves. Best of luck to all participants!

Friday, September 20, 2013

Blurple

Woo, it's Friday!

 photo IMGP7042_zps360bb772.jpg

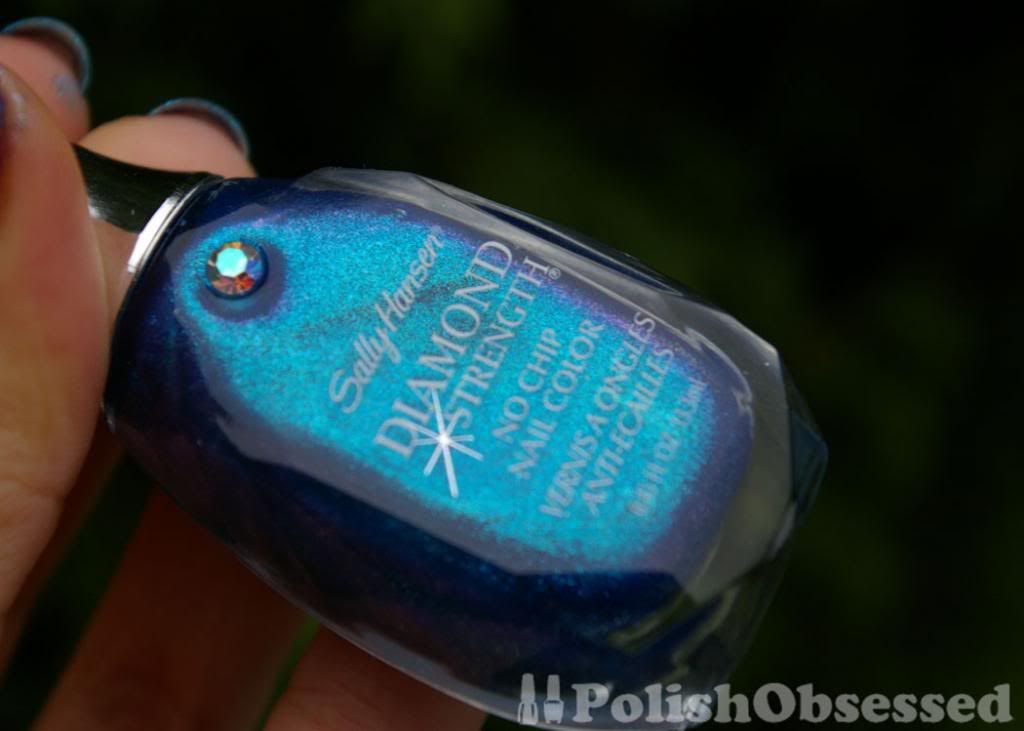
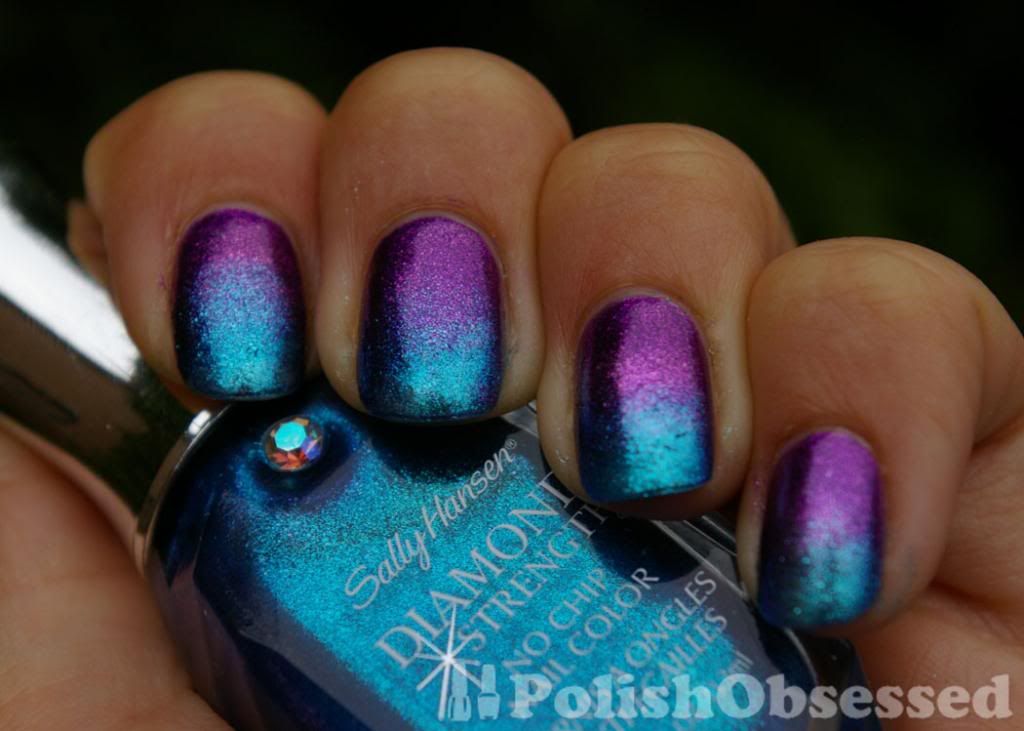
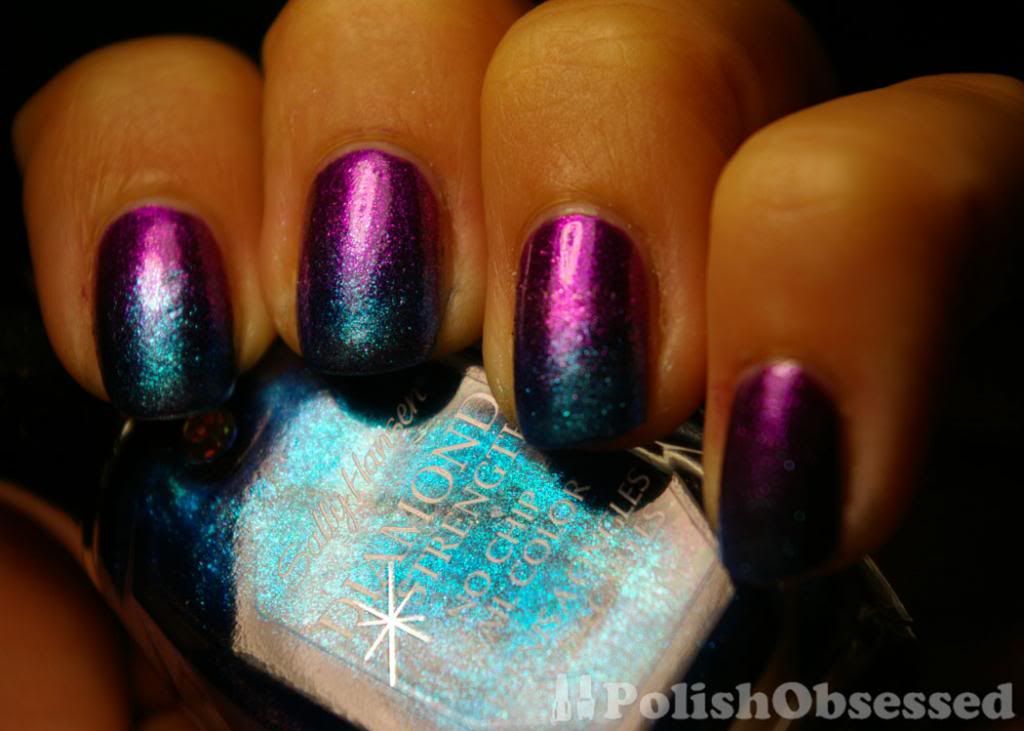
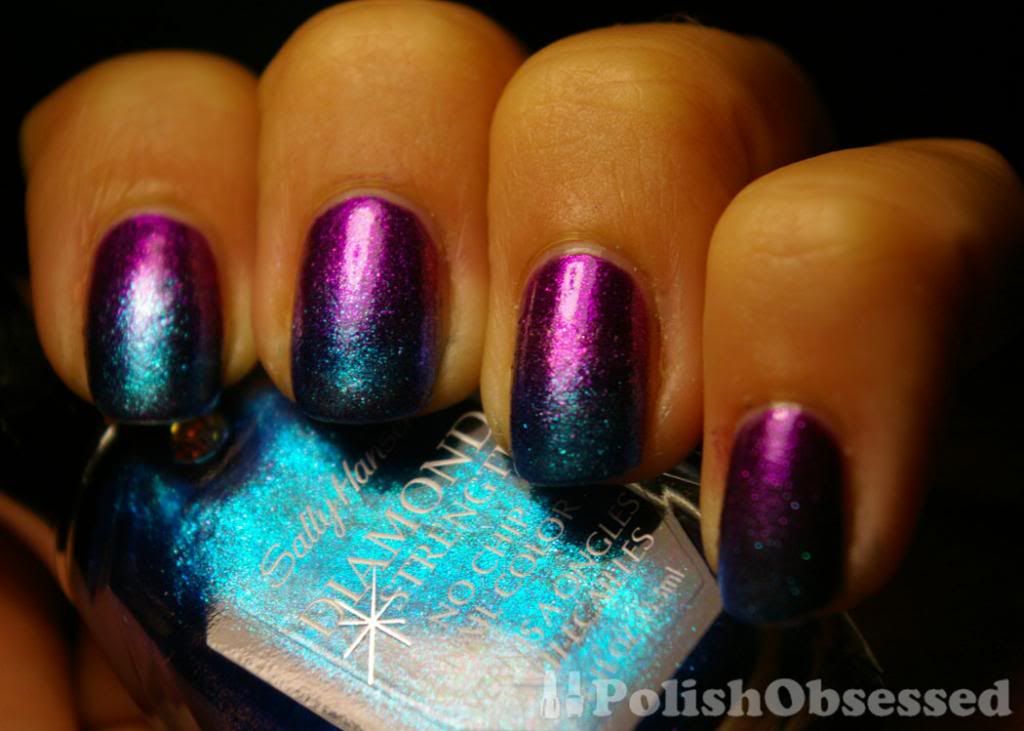
This is what happens when I have a few minutes to kill... Funky gradient nails! I used the foilly duochrome from my last mani, Sally Hansen Diamond Strength in All A Glow as a base and lightly dabbed the tips with another Polish from the same collection, Tender Teal.

 photo IMGP7045_zpsff1c6e60.jpg

 photo IMGP7028_zpsce7ddf74.jpg

 photo IMGP7029_zps04addbb3.jpg


I used a cosmetic sponge to apply Tender Teal to the tips of my nails. for the first layer I applied only Tender Teal to the sponge and sponged lightly on the nail. For the second and third round over coverage, I added All a Glow to the sponge as well to blend the two polishes together and make for a smoother gradient from one shade to the other.

I love quick and easy ways to add new life to an old mani :)

Tuesday, May 28, 2013

Sunset Gradient

So I decided I wanted to go a little bit further with my last mani and use it as a base for a sunset inspired gradient. This was pretty quick and easy, all I needed was a coral pink/red jelly polish and a sponge!

I have tried cosmetic and dish sponges and prefer the cheap dish sponges, for me the cosmetic sponges soak up too much of the polish. All I did was pull out OPI Big Hair, Big Nails and applied a small amount to the sponge, then I took my base colour, Orly Crush on You and applied another small amount right beside the other polish. I then lightly dabbed this on the nail concentrating the pink at the top of the nail.

 photo IMGP6539_zpsa124ac58.jpg

 photo IMGP6542_zpsaf3060d8.jpg

 photo IMGP6545_zpsf8daad00.jpg

Once the first layer is dry, repeat the same process until you are happy with the saturation of the gradient. Add a layer of top coat to smooth everything out and you are done! I would recommend a thick  layer of topcoat to smooth over any texture that was created by the sponge.


Friday, October 19, 2012

Fright Night!

Happy Friday! It feels so good to have the work week almost over with and the weekend just about to begin. This weekend is the second last before Halloween and I will definitely be participating in some Halloween fun within the next couple of days. I will also be showcasing some more Halloween inspired nails, check out what I have today:


This is actually my submission for the Bundle Monster Fight Night Halloween nail art contest this year! For some reason I thought that you could start voting today, but voting actually ends tomorrow, so I really need your help :(. Have a look at what other Halloween nail art was submitted and vote for your favorites! You can vote once per device per day for as many of your favorites as you'd like!


There are some great prizes to be won including the latest set of Bundle Monster plates so I'd appreciate you helping me out if you can :) Thanks in advanced!

If you have any questions about what I used to achieve this look let me know in the comments section below.

Have a great weekend, I look forward to sharing some more Halloween nails next week!

Tuesday, June 5, 2012

Ocean Gradient - complete with crushed seashells

Today I have a mani refresh with Essie's Turquoise and Caicos, a gradient refresh to be exact. I used Essie's Lapis of Luxuxy with a sponge and dabbed it on the top of the nail. I have seen many different ways of doing this on you tube and other blogs, but I found the easiest way for me was to apply the polish directly to the sponge and dab it on the nail.


I started out dabbing the polish the max hight of the nail  wanted the gradient to reach, then with each pass after i moved close to the nail tip. I think I went through about three passes per nail.


At this point I hadn't added a top coat and wanted to add a little sparkle, so I used new glitter I got from Nabi, Large RoundG Glitter and applied a thick coat to get all the glitters on my nail. I would say this is fairly similar to Kleancolour's Black Chunky Holo without the murky brown base and heart holo glitter! I didn't want to use the heart for this mani so I made sure to pick them out.


I kind of wish I applied the glitter in a gradient as well but am happy with the overall look :) reminds me of the ocean and the opalescence of the large glitter reminds me of seashells reflecting through the water, while the smaller glitter is more like the shine off the water.


How do you do your gradients?

Wednesday, August 25, 2010

Shes Nubs

Hi Ladies,

Today I have a polish re-fresh for you. I'm still wearing OPI -Jade is the New Black, even through cutting and filing my nails with the polish on it has yet to crack or chip! (with the exception of my right thumb, this was my fault, not the polish)


When deciding on what to do with my nails for my parents anniversary, I had thought about something silver and shiny. When I had decided to go with JTNB, I thought how great would this look with some shiny gold? I think it would have been too over the top with my outfit (to post soon!) at the time, but decided after the party I wanted to try out my new $OPI top coat - Only Gold for Me.


I attempted a gradient effect with the top coat, which is large and tiny hexagonal glitter suspended in a clear base. I like the randomness gradient/glitter.

What do you ladies think, yay or nay?

* Fun Fact - every time I look at my short nails I get "She's Nubs" stuck in my head! lol
If you know the band that sings this song, you kick ass :)