Monday, April 30, 2012

Finally Apart of the Cult!

Soooo excited! I ripped through my package that came in the mail the other day and dug out my new pretties :)


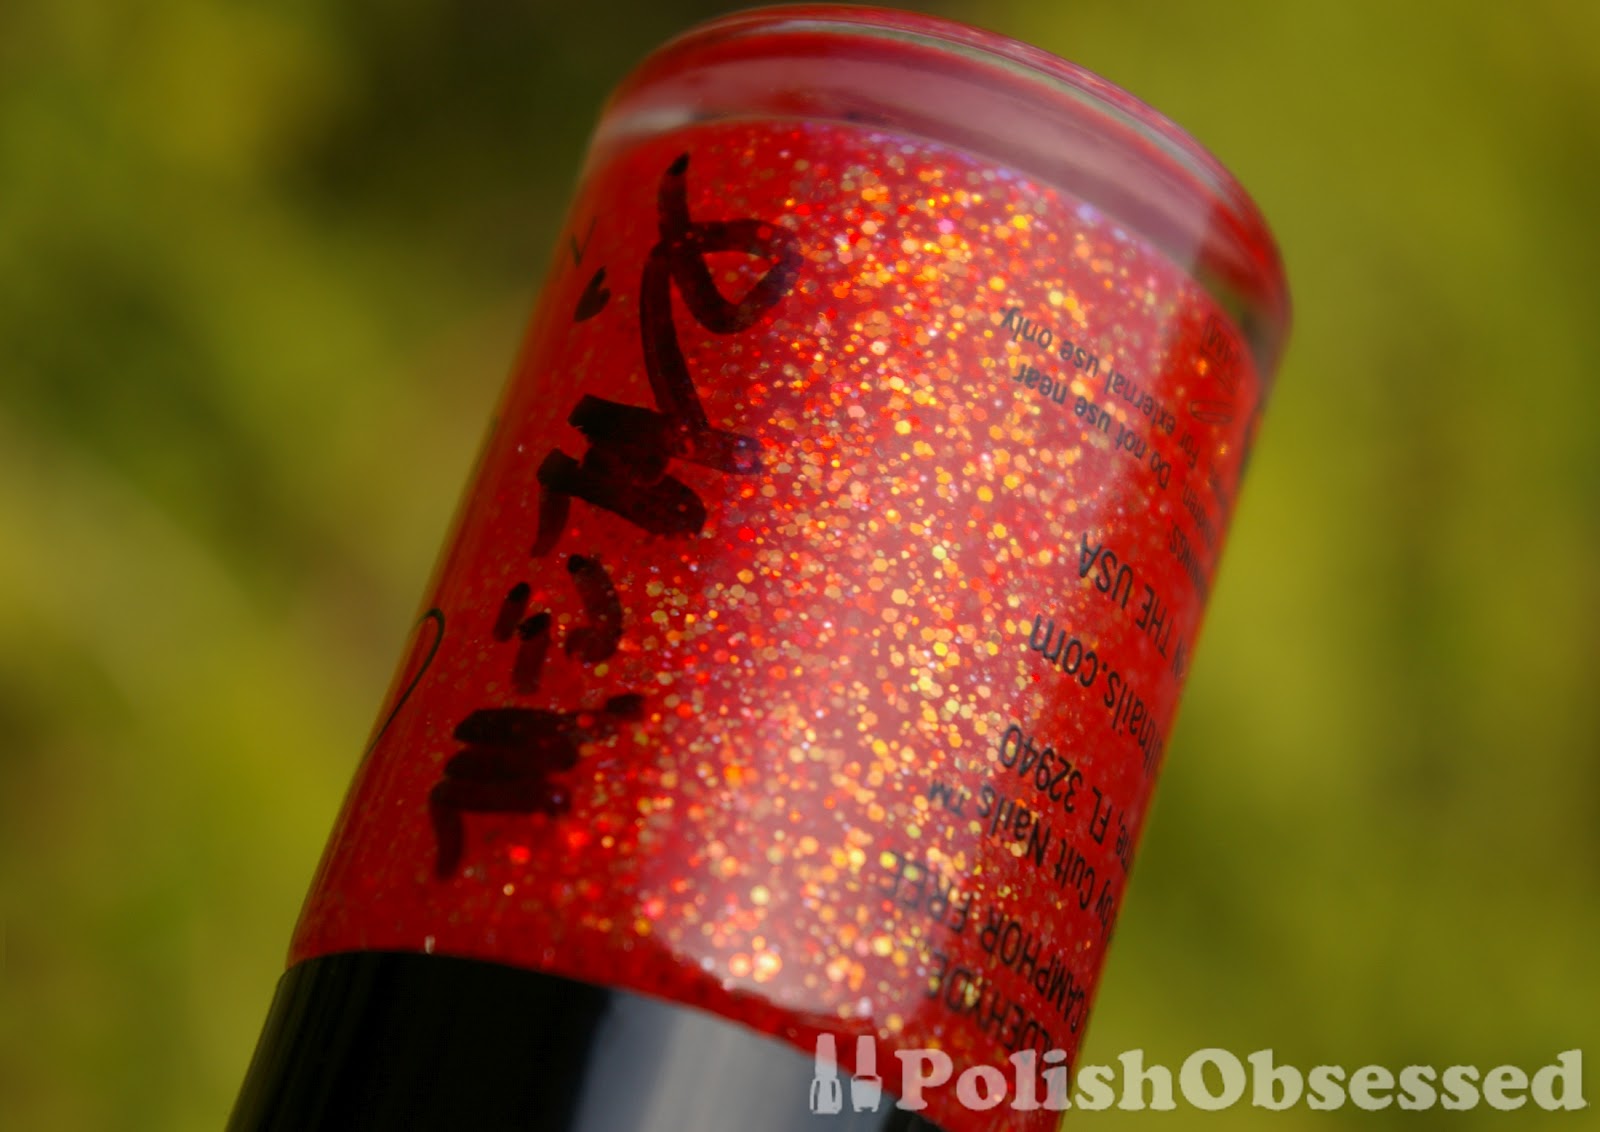
Captivated and Living Water is what I got, Maria over at Cult Nails even signed the bottles for me ^_^ Here are some close ups of the polishes in the bottle.


I just had to test these polishes out right away so I pulled out my nail wheel. The formula on living water was excellent and perfectly opaque in two coats!


Captivated was a bit thick, I'm not sure if it was just my bottle or the fact that it is so densely packed with glitter. I added some thinner to even out the consistency a bit and it applied just fine. Two- three coats looked pretty good, I included three on the nail wheel. I love how this one can be used as a glitter top coat or easily built up to be worn on it's own.


Can't wait to wear these!!

Friday, April 27, 2012

Lovin' Layering Part 2 - Poor Man's Merry Midnight?

Happy Friday! So back to yesterday's mani, Milani's Rad Purple and Kleancolor's Black Chunky Holo. And now to complete this look...


Milani's Totally Cool! This is what i'd like to call a Milani jelly sandwich... Or the way it looks in certain lighting I would consider it a poor mans Merry Midnight. It's not a dupe but has the same elements for sure. I love how the bigger pieces of glitter peak through the shimmer in Totally Cool. It's so awesome from so many angles you know I had to post many photos...


Milani's Totally Cool has a deep purple jelly base, this is much darker and blue toned than Rad Purple. Scattered within this polish is a duochrome shimmer with very similar colour shifts as the Kleancolor glitter.


I've never worn it on it's own before but from this one application I could tell it is thin. This was perfect for layering over the Kleancolor, only one coat was needed.


All indoor photos are with no topcoat and all outdoor photos are with my NYC quick dry top coat. I really love this combo! I have got to layer my polishes more :)

Thursday, April 26, 2012

Lovin' Layering

About a day after applying Milani's Rad Purple I realized I should have taken advantage of this jelly by layering other polishes in between! Since it was a little too late I decided to layer a glitter on top and leave it at that... for now lol


I used Kleancolor's Black Chunky Holo and applied one coat. This glitter polish is made up of different sized hex and regular smaller glitter particles that are opalescent. In different angles of lighting they appear to shift in colour. They range from red, orange, yellow, green, and if you're lucky blue! 


On another note, I've found a better way to apply glitters only recently. The funny thing is I had been hearing about it for years but I guess it never really clicked, I would still always apply thicker glitters the same as any other polish.


I've found, and I'm pretty sure that most of you have too, that you need to kind of blob the polish on at the base of the nail by the cuticle and blot with the brush then and pull up! So simple yet it took me forever to figure out. Oh well, now I know! Do you have any tricks for applying glitters?


Wednesday, April 25, 2012

Super Rad!

I have a jelly today :) It's actually an unexpected jelly, you see this Milani polish was apart of a neon collection and the glass bottle is also covered in a colored film ... which is not the same colour as the polish within.

I'm pretty sure I purchased Rad Purple because I saw from other blogs that it was not a neon but does have jelly qualities. I only needed three coats for opacity, not too bad!


The weird thing about this polish is that it dries matte, so you have to use a top coat for sure! I used Seche Vite which is always pretty glossy but really showed off how jelly this polish actually is. In the photos the polish looks a little uneven, but in real life it doesn't look this way. I think it was the way the light was hitting it.


In most of the photos I've seen online these tend to loo a lot more red. I think this is a great shade of purple, darker and richer than OPI's Houston, we have a Purple. The most colour accurate photo is actually the one below.


My only problem with jellys is wear, I find that they tend to show wear a lot earlier than a creme or shimmer polish. I didn't help either lol, I decided to make a large soup the next day which involved my hands being in crazy amounts of water and cutting veggies! Not to easy on the nails.

Tuesday, April 24, 2012

Blue On Blue

Today I have a refresh of China Glaze's Rainstorm with some Bundle Monster stamping. I started to get some rip wear after a few day but didn't want to remove the polish just yet.


I used plate BM 210 and Sally Hansen Insta-Dri Blazing Blue for stamping. Blazing Blue is a deep indigo blue with light blue/teal shimmer throughout. You can see the pretty shimmer in the bottle.


I have been wanting to stamp more often but find myself lacking inspiration. Does this ever happen to you?

Friday, April 20, 2012

Zoya Polish Exchange 2012!

Happy Friday! If you didn't already know this Sunday is Earth day, and Zoya would like to celebrate...

Zoya is back with there polish exchange for 2012! It looks a little different from last year which is kind of a bummer, they are are still offering each polish at $4 which is half price, but they are also charging shipping on top of that when last year there were no additional fees :( More from their website below:

Each year, ZOYA helps you get rid of old nail polish that may not be BIG5Free (Free of Toluene, Formaldehyde, Formaldehyde Resin, DBP, and Camphor) and replace your supply with brand new long-lasting, award winning, healthy ZOYA nail polish colors.


 There's not a better time to make the switch! Do your part to help the planet in honor of Earth Day and exchange your old, unwanted nail color from April 21, 2012 - April 22, 2012 (11:59PM EST) for toxin-free ZOYA nail polish. Go GREEN... or red, blue, orange and pink for that matter :) You only pay $4 per bottle plus shipping and handling fees. Rest assured - ZOYA will properly dispose of your old polish.

For more information from the Zoya site click here.

This promo is only valid over the weekend so if you're interested searching swatches now to help you choose some new polishes! Below are some of my Zoya swatches.

Ivanka

Neeka


Dea

Danii

Thursday, April 19, 2012

Doppelgängers! Featuring Color Club and Wet n' Wild

Today I have a green foil comparison between Color Club's Kiss Me Mistletoe and Wet n' Wild  Jungle Fever. After wearing and sharing  Jungle Fever  with you on Monday I was reminded of a Color Club I picked up not too long ago, so here we go let's see how close they are!


Here are come close ups of the bottles, first Jungle Fever.


And Kiss Me Mistletoe.


 The above photo are both polishes at full opacity, left to right Jungle Fever and Kiss Me Mistletoe.

sunlight

shade

Kiss Me Mistletoe only needed one coat! The formula was thick and easy to work with. My bottle did need a good shake though.Jungle Fever needed two thin coats.

As you can tell they are not dupes, but pretty close, Jungle Fever is warmer with tones of yellow where Kiss Me Mistletoe is a lot cooler.

Some other differences between the two are:
- Kiss Me Mistletoe is scented!
- Jungle Fver is quick dry

Tuesday, April 17, 2012

Rainy Daze

The weather has been so up and down lately; warm, cool, sunny, grey. The last week it has been mostly grey and rainy, so inspired by the weather I busted out China Glazes Rainstorm. It pretty much sums up how I felt the day I applied it, blah!


Don't get me wrong though, I do love this polish. It is a soft periwinkle blue with a slight purple irridecence that only seems to show in artificial lighting. My favorite thing about this polish? The light blue glitter scattered throughout, it's subtle but special.


Now for the one thing I don't like about this polish, the opacity. I guess it makes sense that it's a thinner polish, how else would the glitter poke through, right? The mistake I made was not using an opaque base. Next time I will defiantly do that. Shown on my nails are 3 coats. I half regret not applying a fourth, mostly because dry time would have driven me nuts! Even with Seche Vite it took a little bit of time to completely dry.

Monday, April 16, 2012

In the Jungle

If you recall, I was lucky enough to win the whole Wet n' Wild limited edition On the Prowl collection late last year, and while most of the polishes I ADORED! (ie. Correction Tape from my last post), others didn't really capture my interest. Jungle Fever WAS one of them, but once I did a swatch I felt like it was the most perfect spring green foil!


I applied two coats to each nail and I was all set, no top coat needed! This is apart of the Fast Dry collection and I feel like it delivers to a certain point. It's not going to dry as fast as Seche Vite, but I applied it around 9:00 and was in bed by 11:00 and received no sheet marks in the morning! Very impressive.


The only downside I have found with these polishes are the brushes. That shape and width are fine, but the bristles suck! They are so hard and stiff, I had to be sure to apply with a soft stroke or risk getting crazy brush marks or ruin the coat below with the second!


Does anyone else have this issue with their brushes? It is really annoying.

Thursday, April 12, 2012

Konad Promo for Beginners on NailPolishCanada.com!

Take a look at the email I received earlier today from NailPolishCanada.com:

Konad nail stamping allows you to imprint hundreds of pre-made designs onto your nails. Started in South Korea and now a worldwide phenomenon there are over 7000 user generated videos on Youtube showcasing Konad. (Some have over a million views!). 


 It's easy, simply paint nail polish (Konad polish is thicker and works best) onto an image plate, use the stamp to pick up the design and press the stamp to your nail. You’re left with beautiful nail art. 


 We would like everybody to have a chance to try Konad so until the end of April you can get everything you need to try Konad with the Basic Kit for only $12 ($5 OFF).


Now I'm sure all of you know what Konad is, but I'm sure that some people are still new to it or have never tried it. I think it's a pretty good promo for a starter kit and wanted to share the information with those interested in trying Konad for the first time. You can view their basic kit here.

Wednesday, April 11, 2012

Glowy Mosaic

I don't know how I got the idea to mix these two polishes together but I'm glad I did! Below is the final look with a top coat.


After the two coats of the blue glow-in-the dark polish from yesterday I added a generous coat of Wet n' Wild's Correction Tape and let it dry. To add some depth I applied another coat of the blue glow-in-the dark polish with a second coat of glitter and a final coat of  the blue!


You still following me!? I added the two coats of blue glow polish in between the glitter to add some depth and give the finish a frosted window look.


To finish everything off I added a coat of Seche Vite and had no issues with dry time considering how many coats I used!! The glow polish was pretty great to work with, it dried super quick so I didn't experience bubbling or anything. I just realized the glitter is a fast dry too lol. I'm sure that must have helped a bit too.


It reminded me of some sort of tile mosaic, maybe because of the square shaped glitter. It also reminded me of a rubber ball lol. My sister said they reminded her of Easter Whoppers!

One final photo, this time in focus, of the glow :)

Tuesday, April 10, 2012

Glow Worm!

I spotted these glow-in-the dark polishes at Winners around Halloween and just had to have them! The brand is Color Zone, I've never really seen them any place other than Winners but they glow pretty well! Unfortunately they do not have names :(


Today I have the blue from the three pack I got which included a hot pink and a sheer green glitter. Most glow-in-the dark polishes are fairly sheer, and although this one was too it built up pretty nicely! In the photos I have today I used only two coats. As you can see it dries to a matte finish.


Still pretty sheer right? No matter, I planned on building it up for a glowy, glitter sandwich! Here's how it looks in the dark, a total of four coats of the glow polish.


To see how I layered it tune in to tomorrows post ;)